

How to Tension Shade Sails Like a Pro: The Ultimate Guide
So, you’ve taken the plunge and invested in a shade sail to create that perfect outdoor oasis. But now you’re standing there, not quite sure how to tension it properly. Don’t worry. Tensioning shade sails might seem like an art reserved for the experts, but with a little guidance, you can do it too. And trust us, your sail won’t just look better nice and tight—it’ll last longer too.
Why Proper Tensioning is Crucial
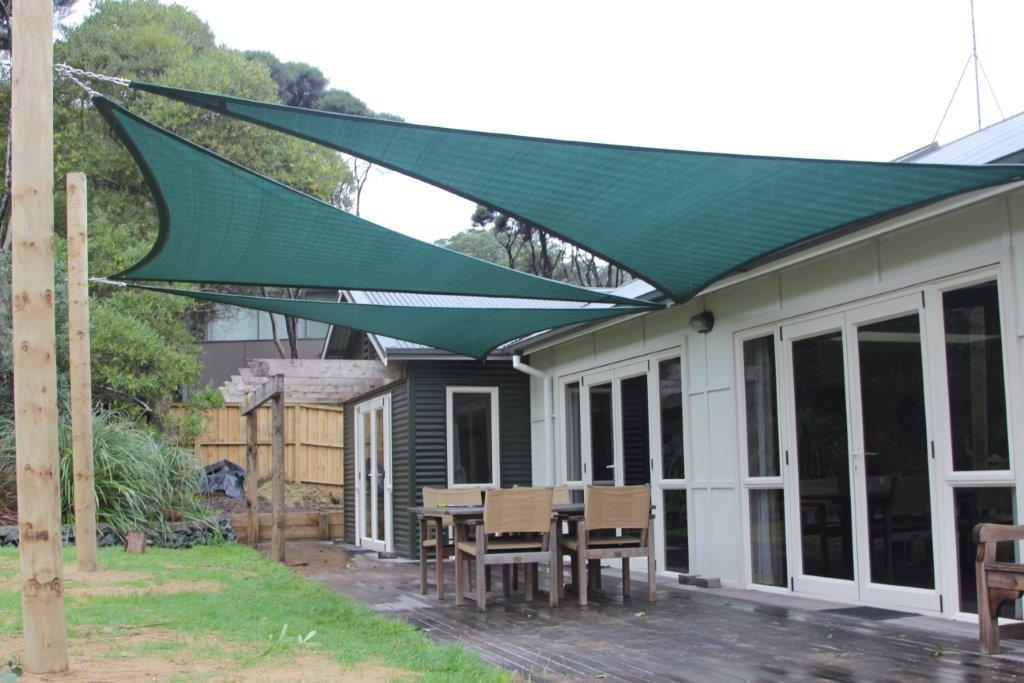
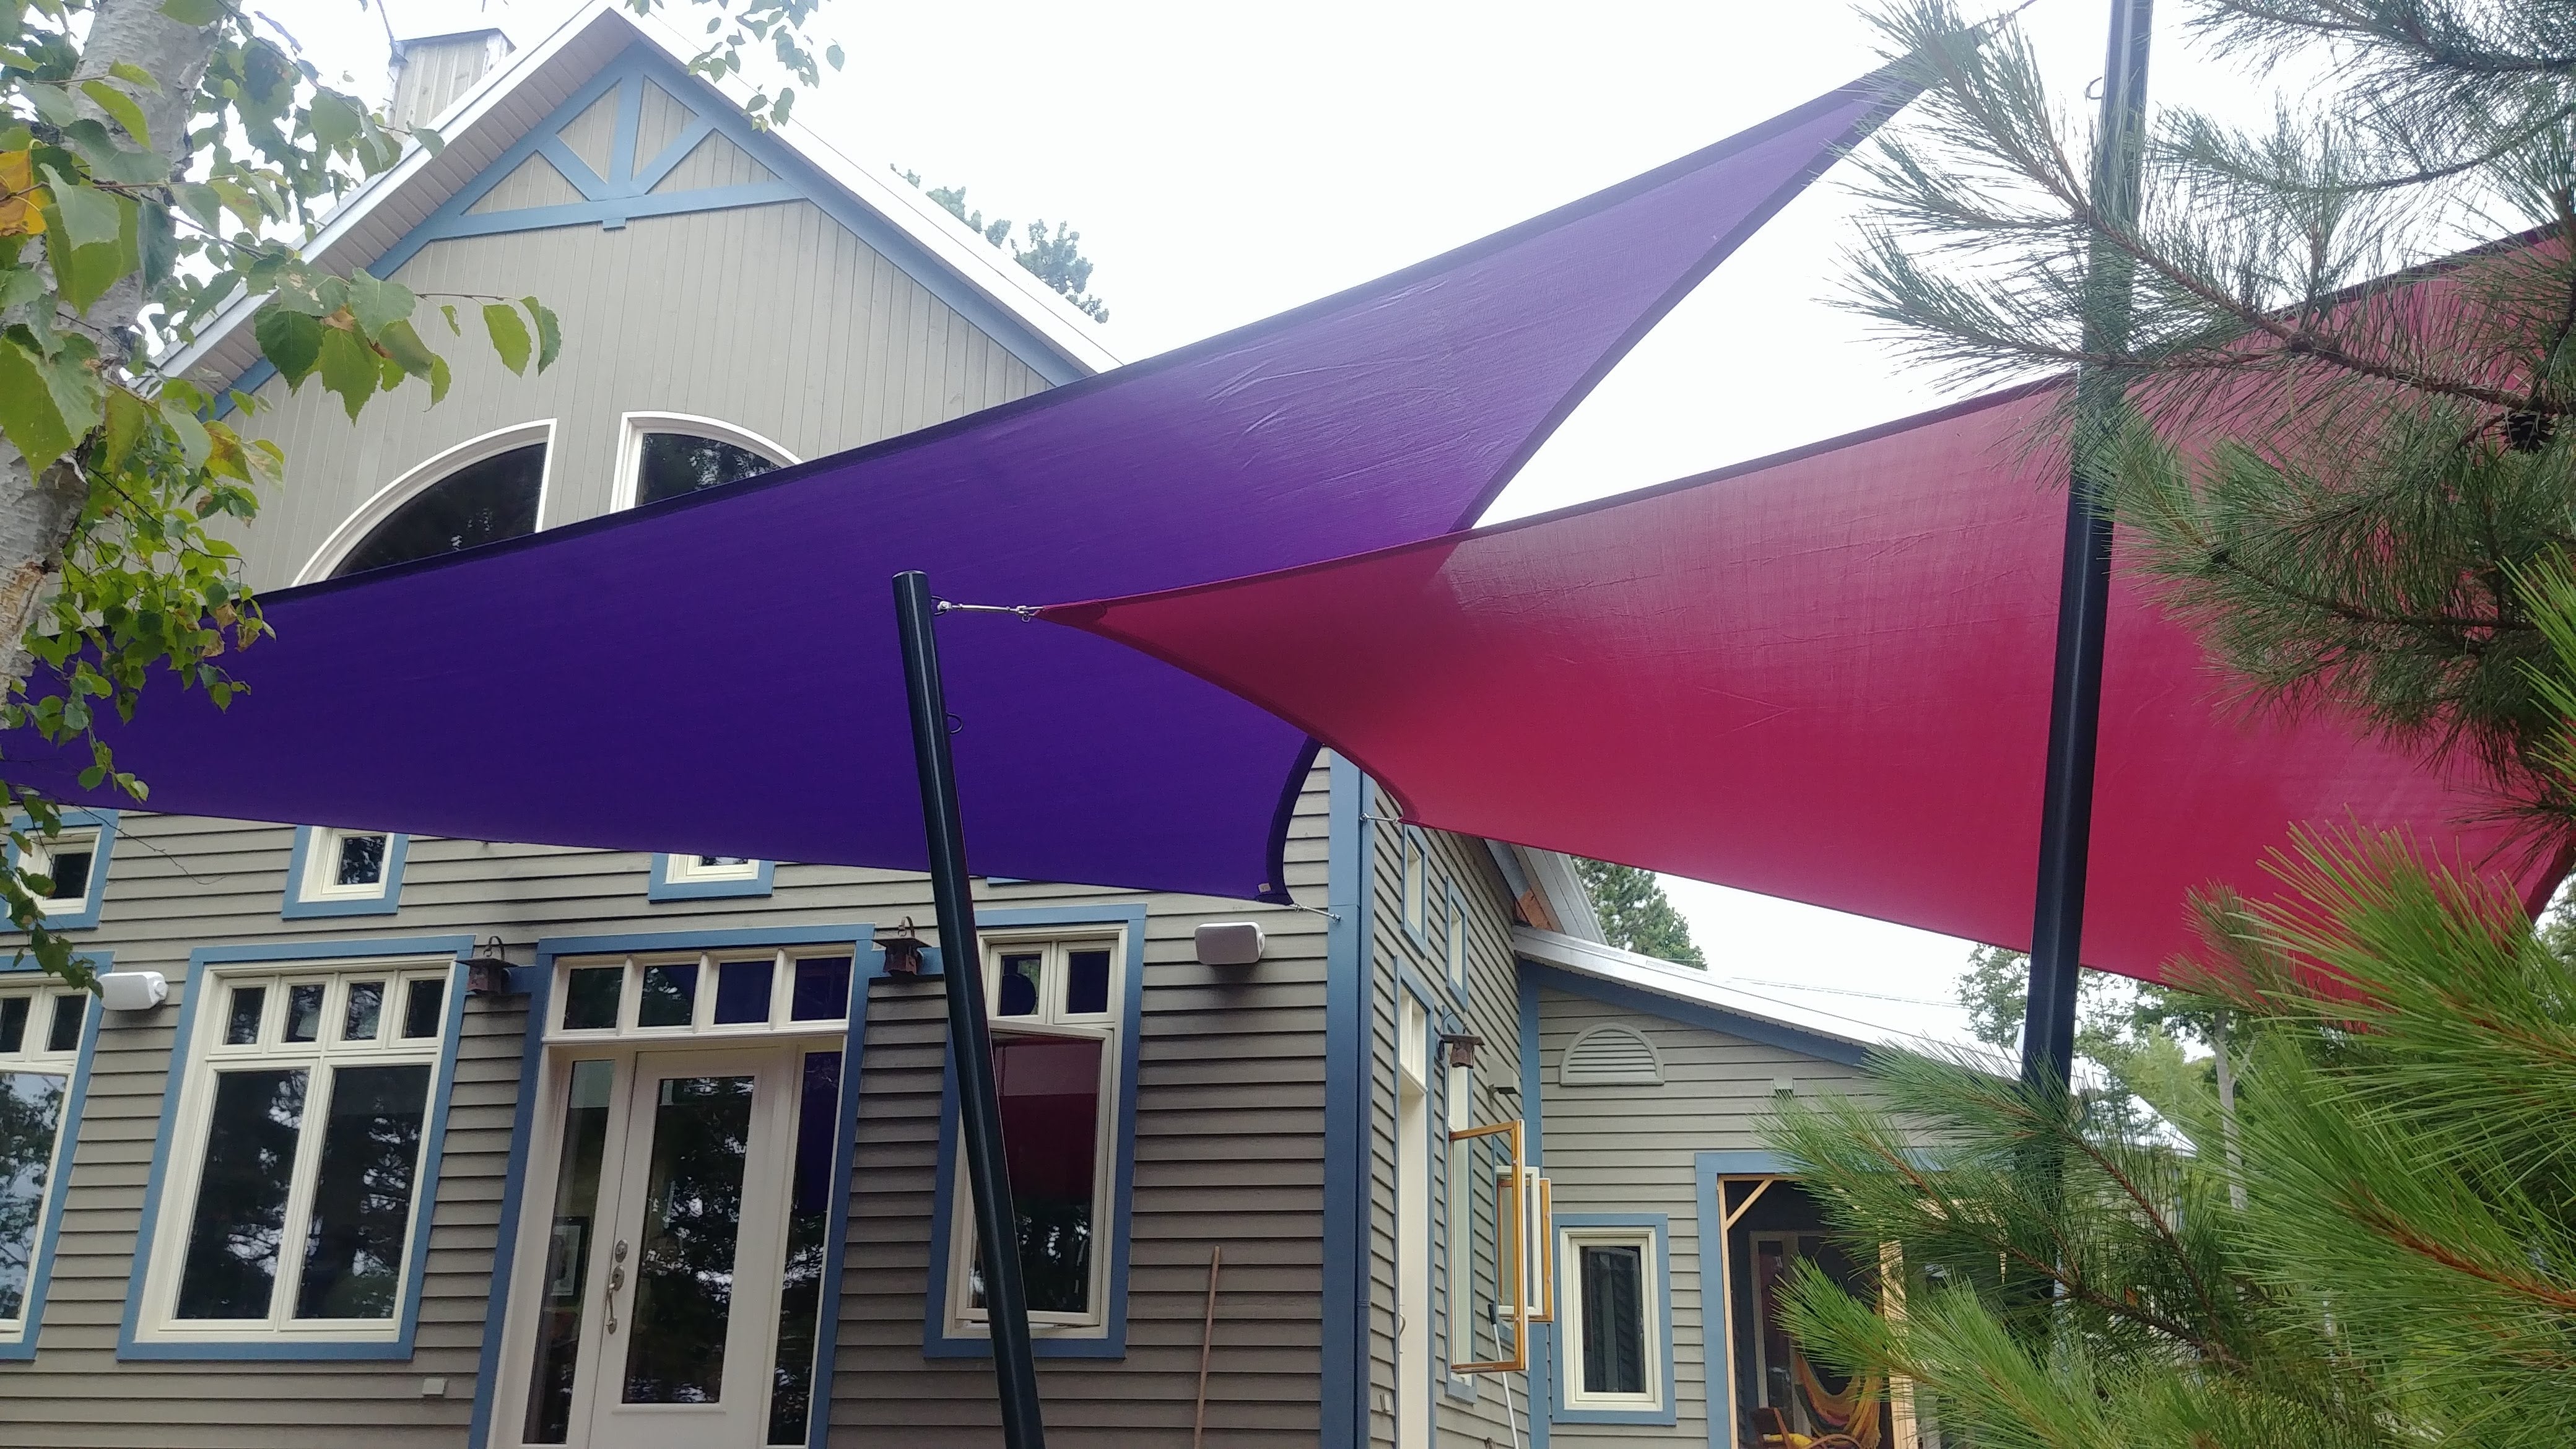
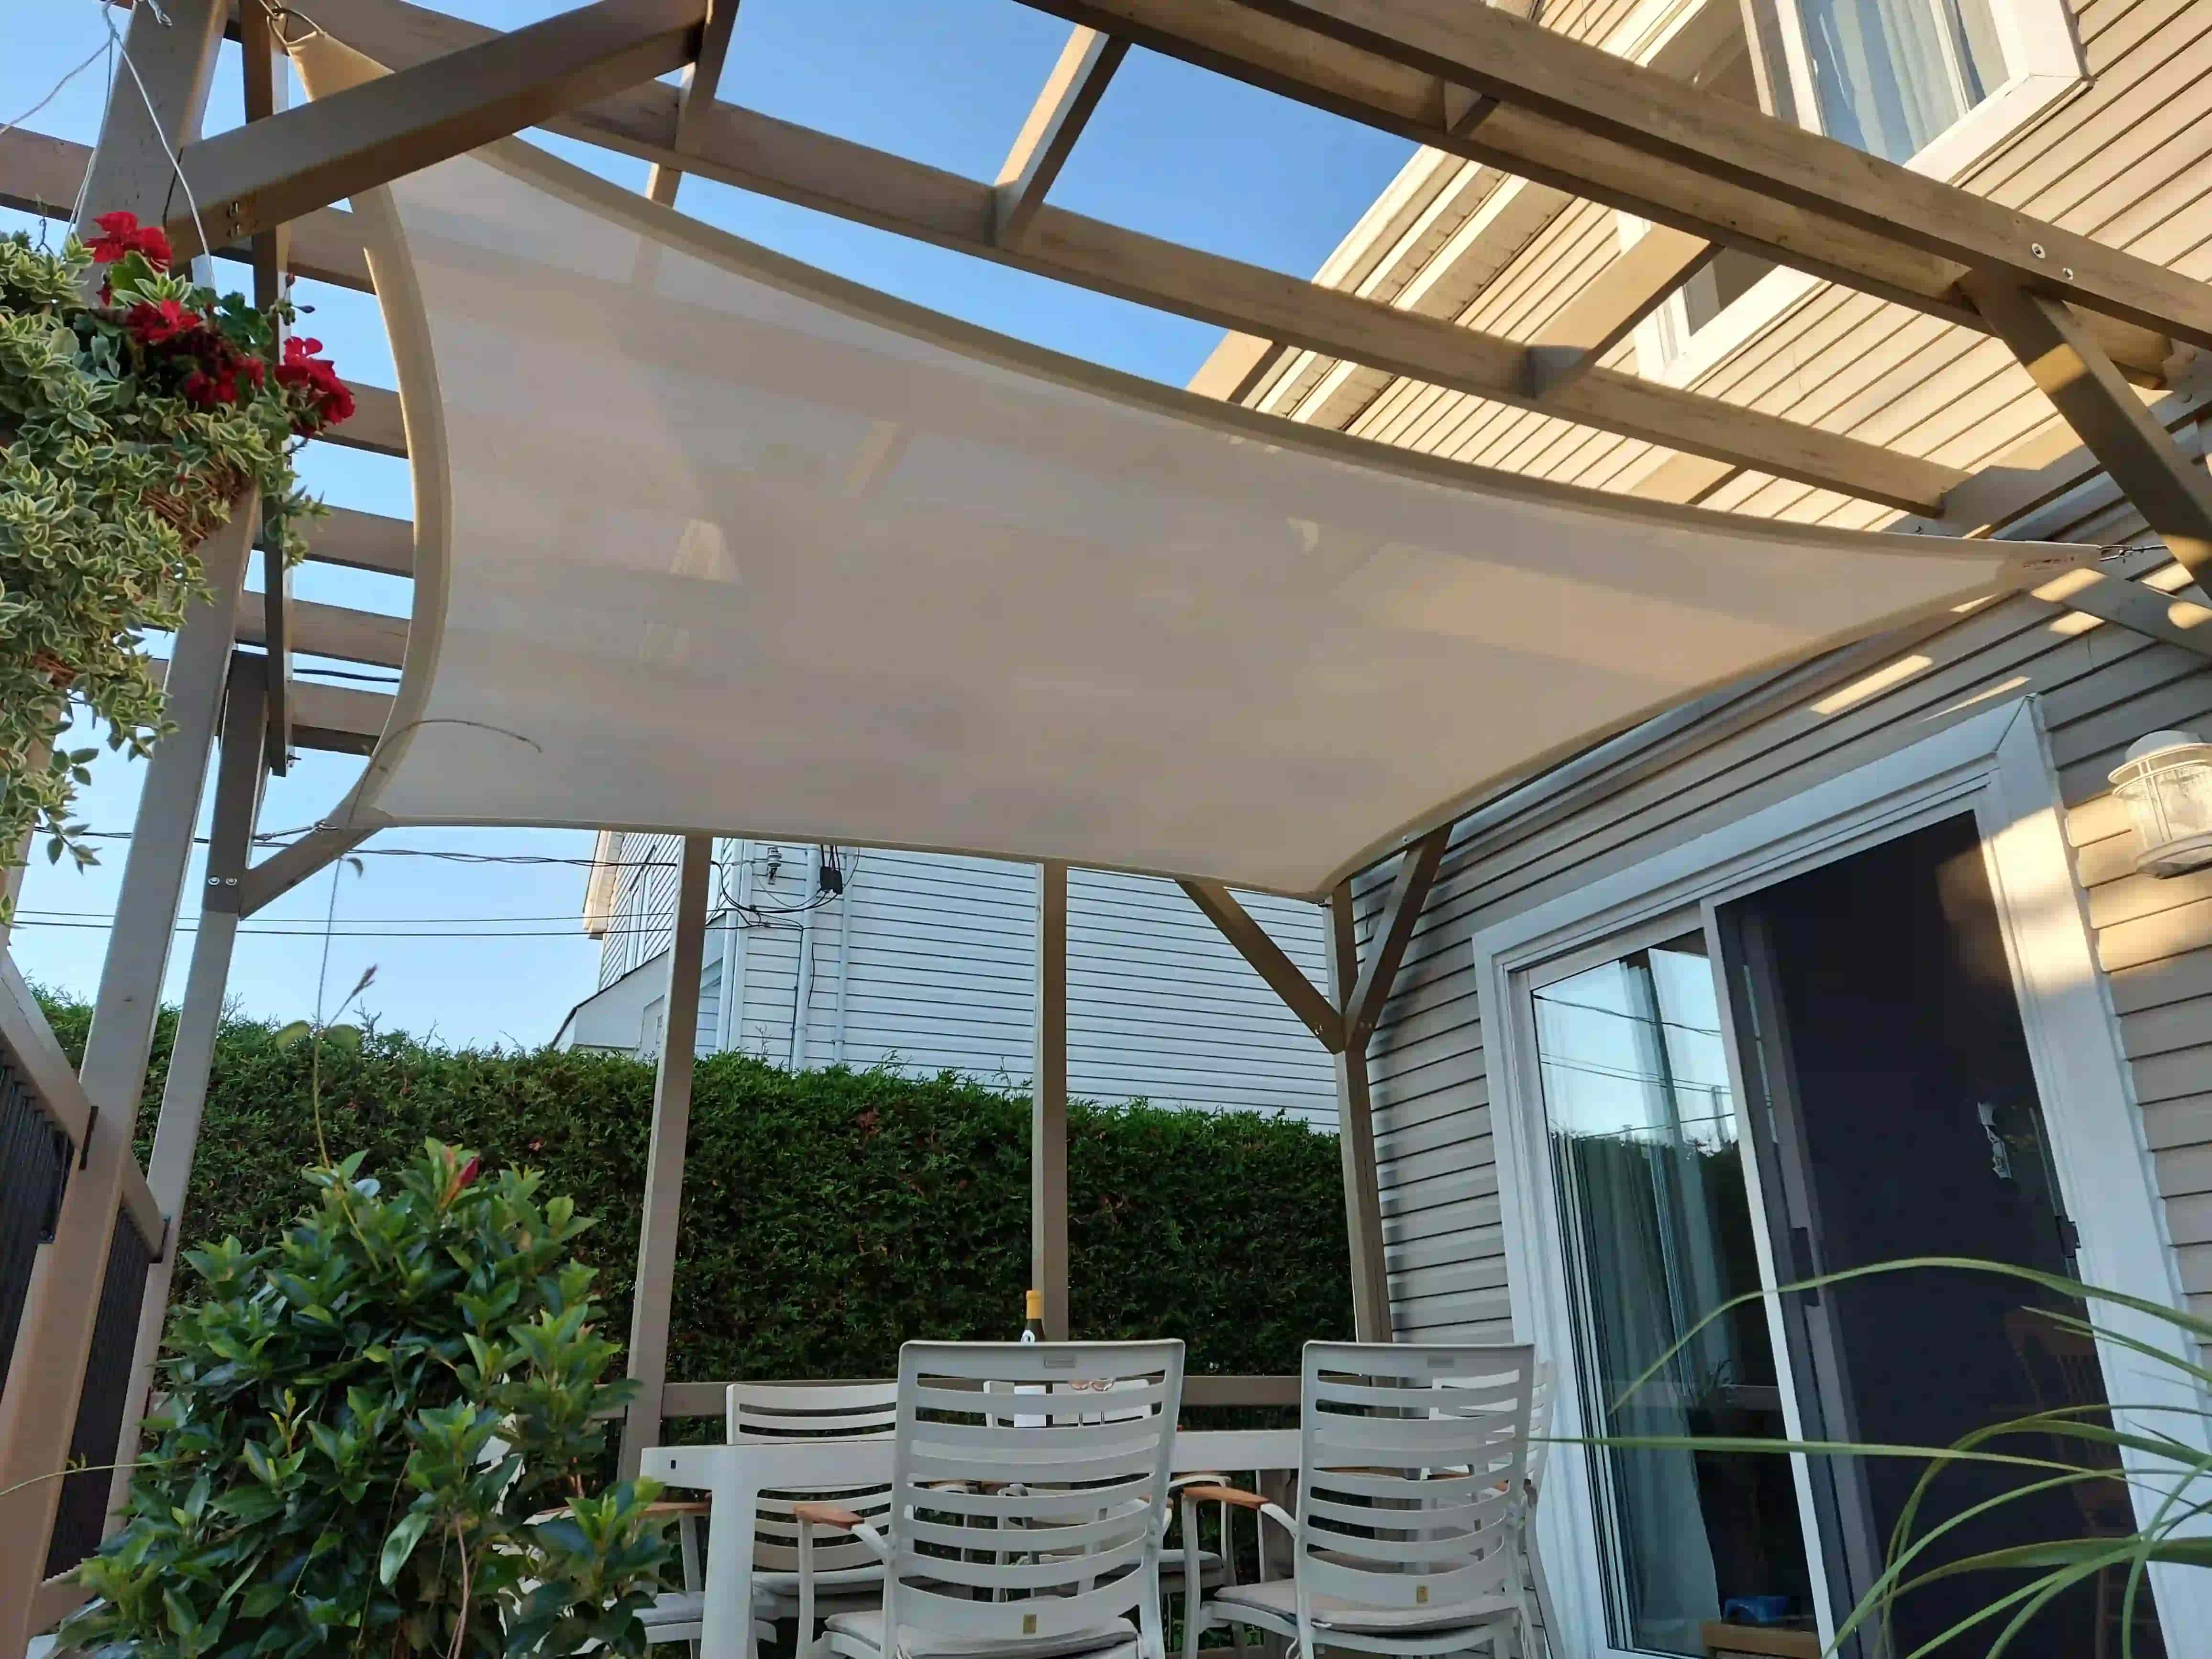
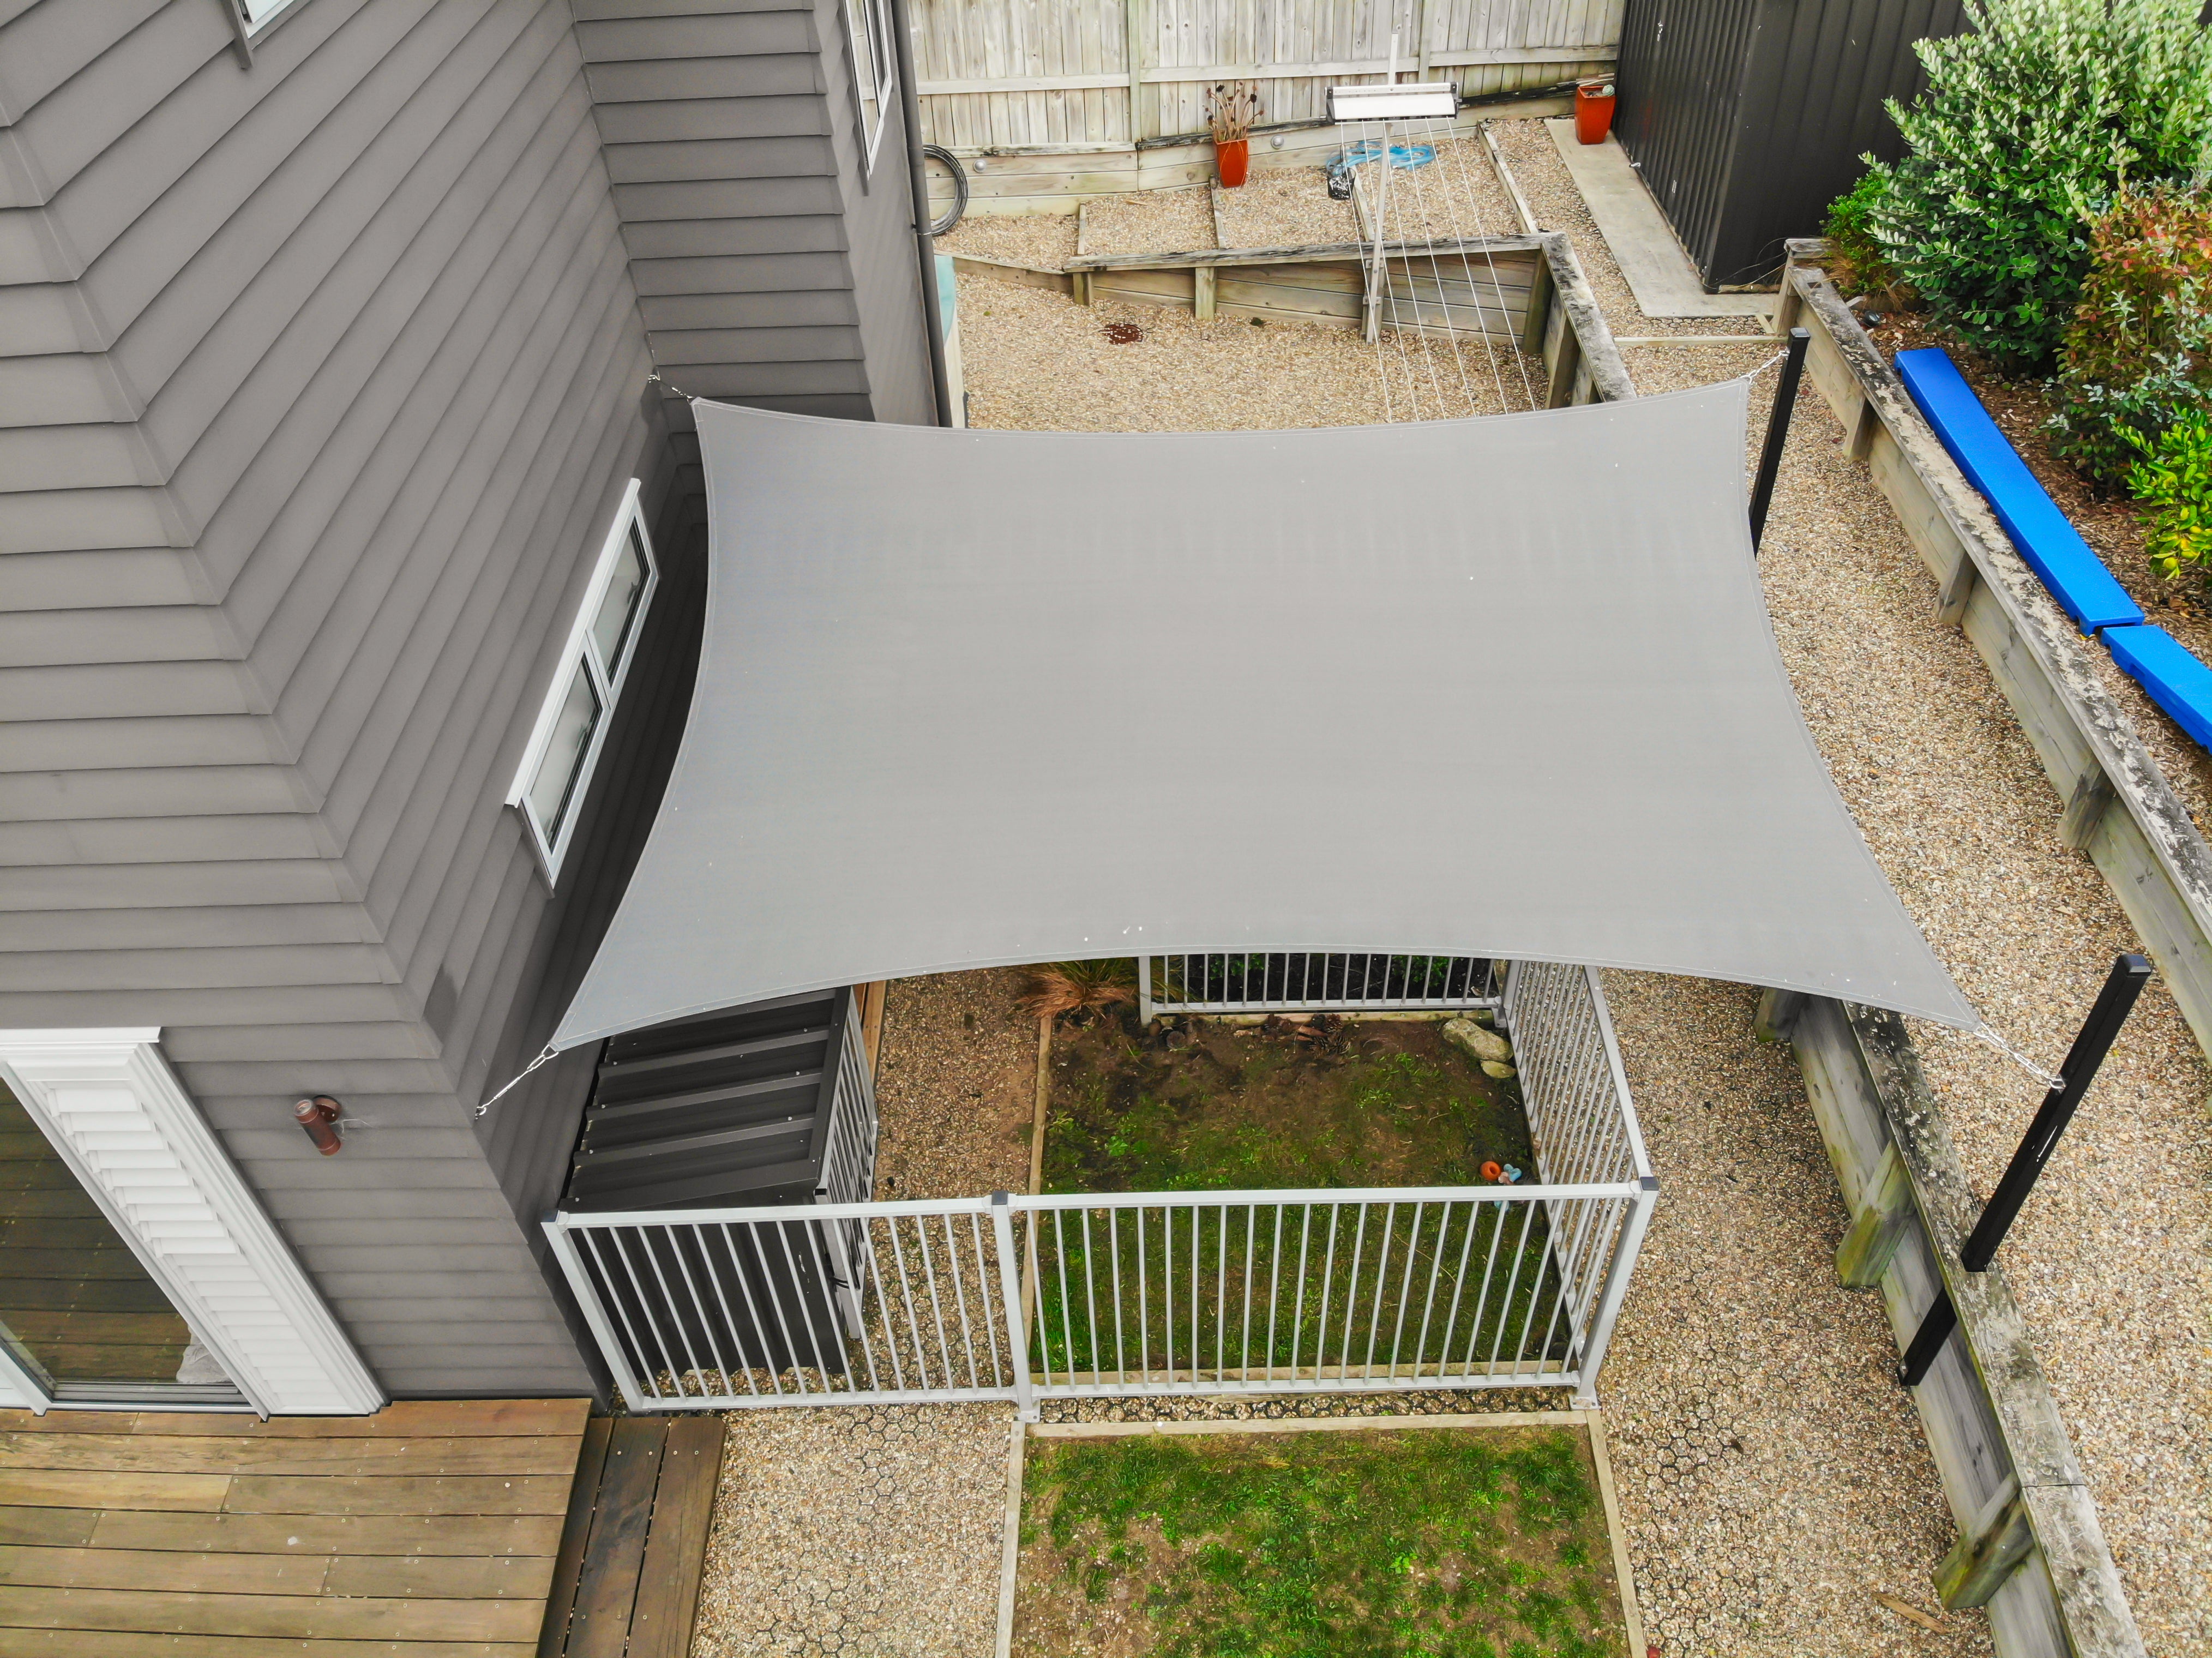
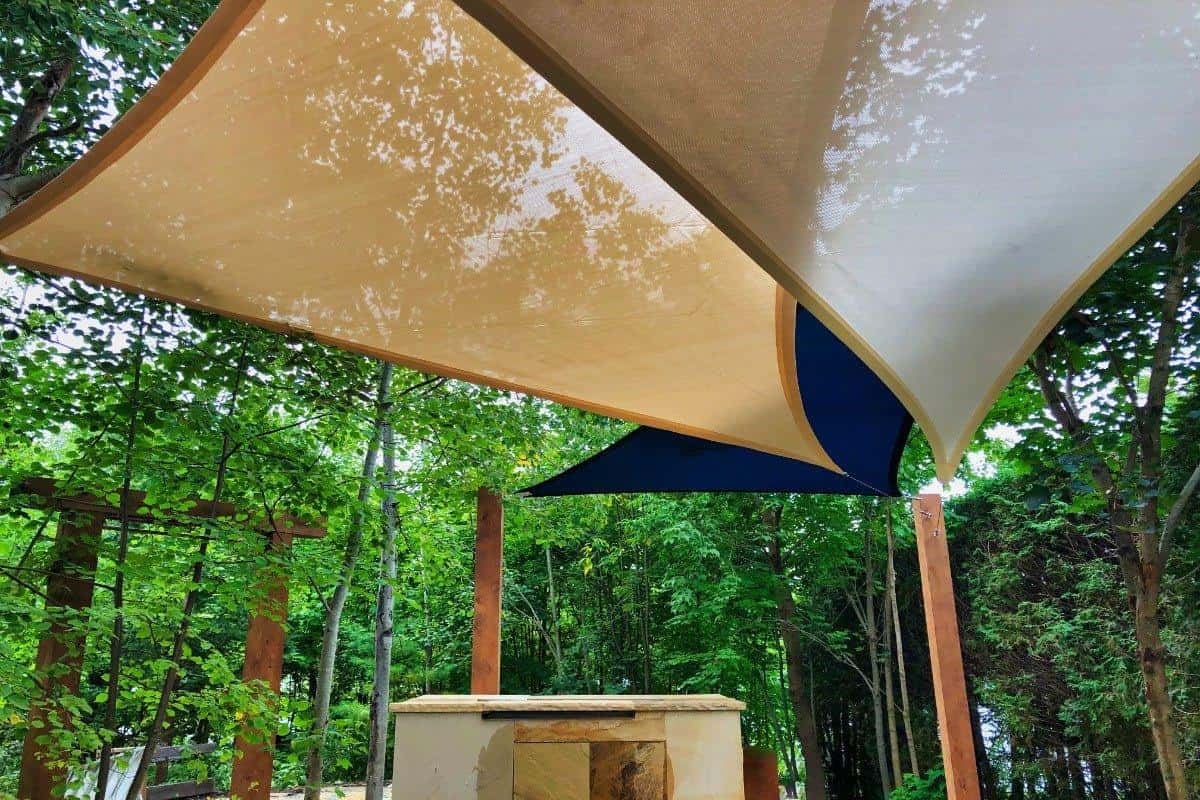
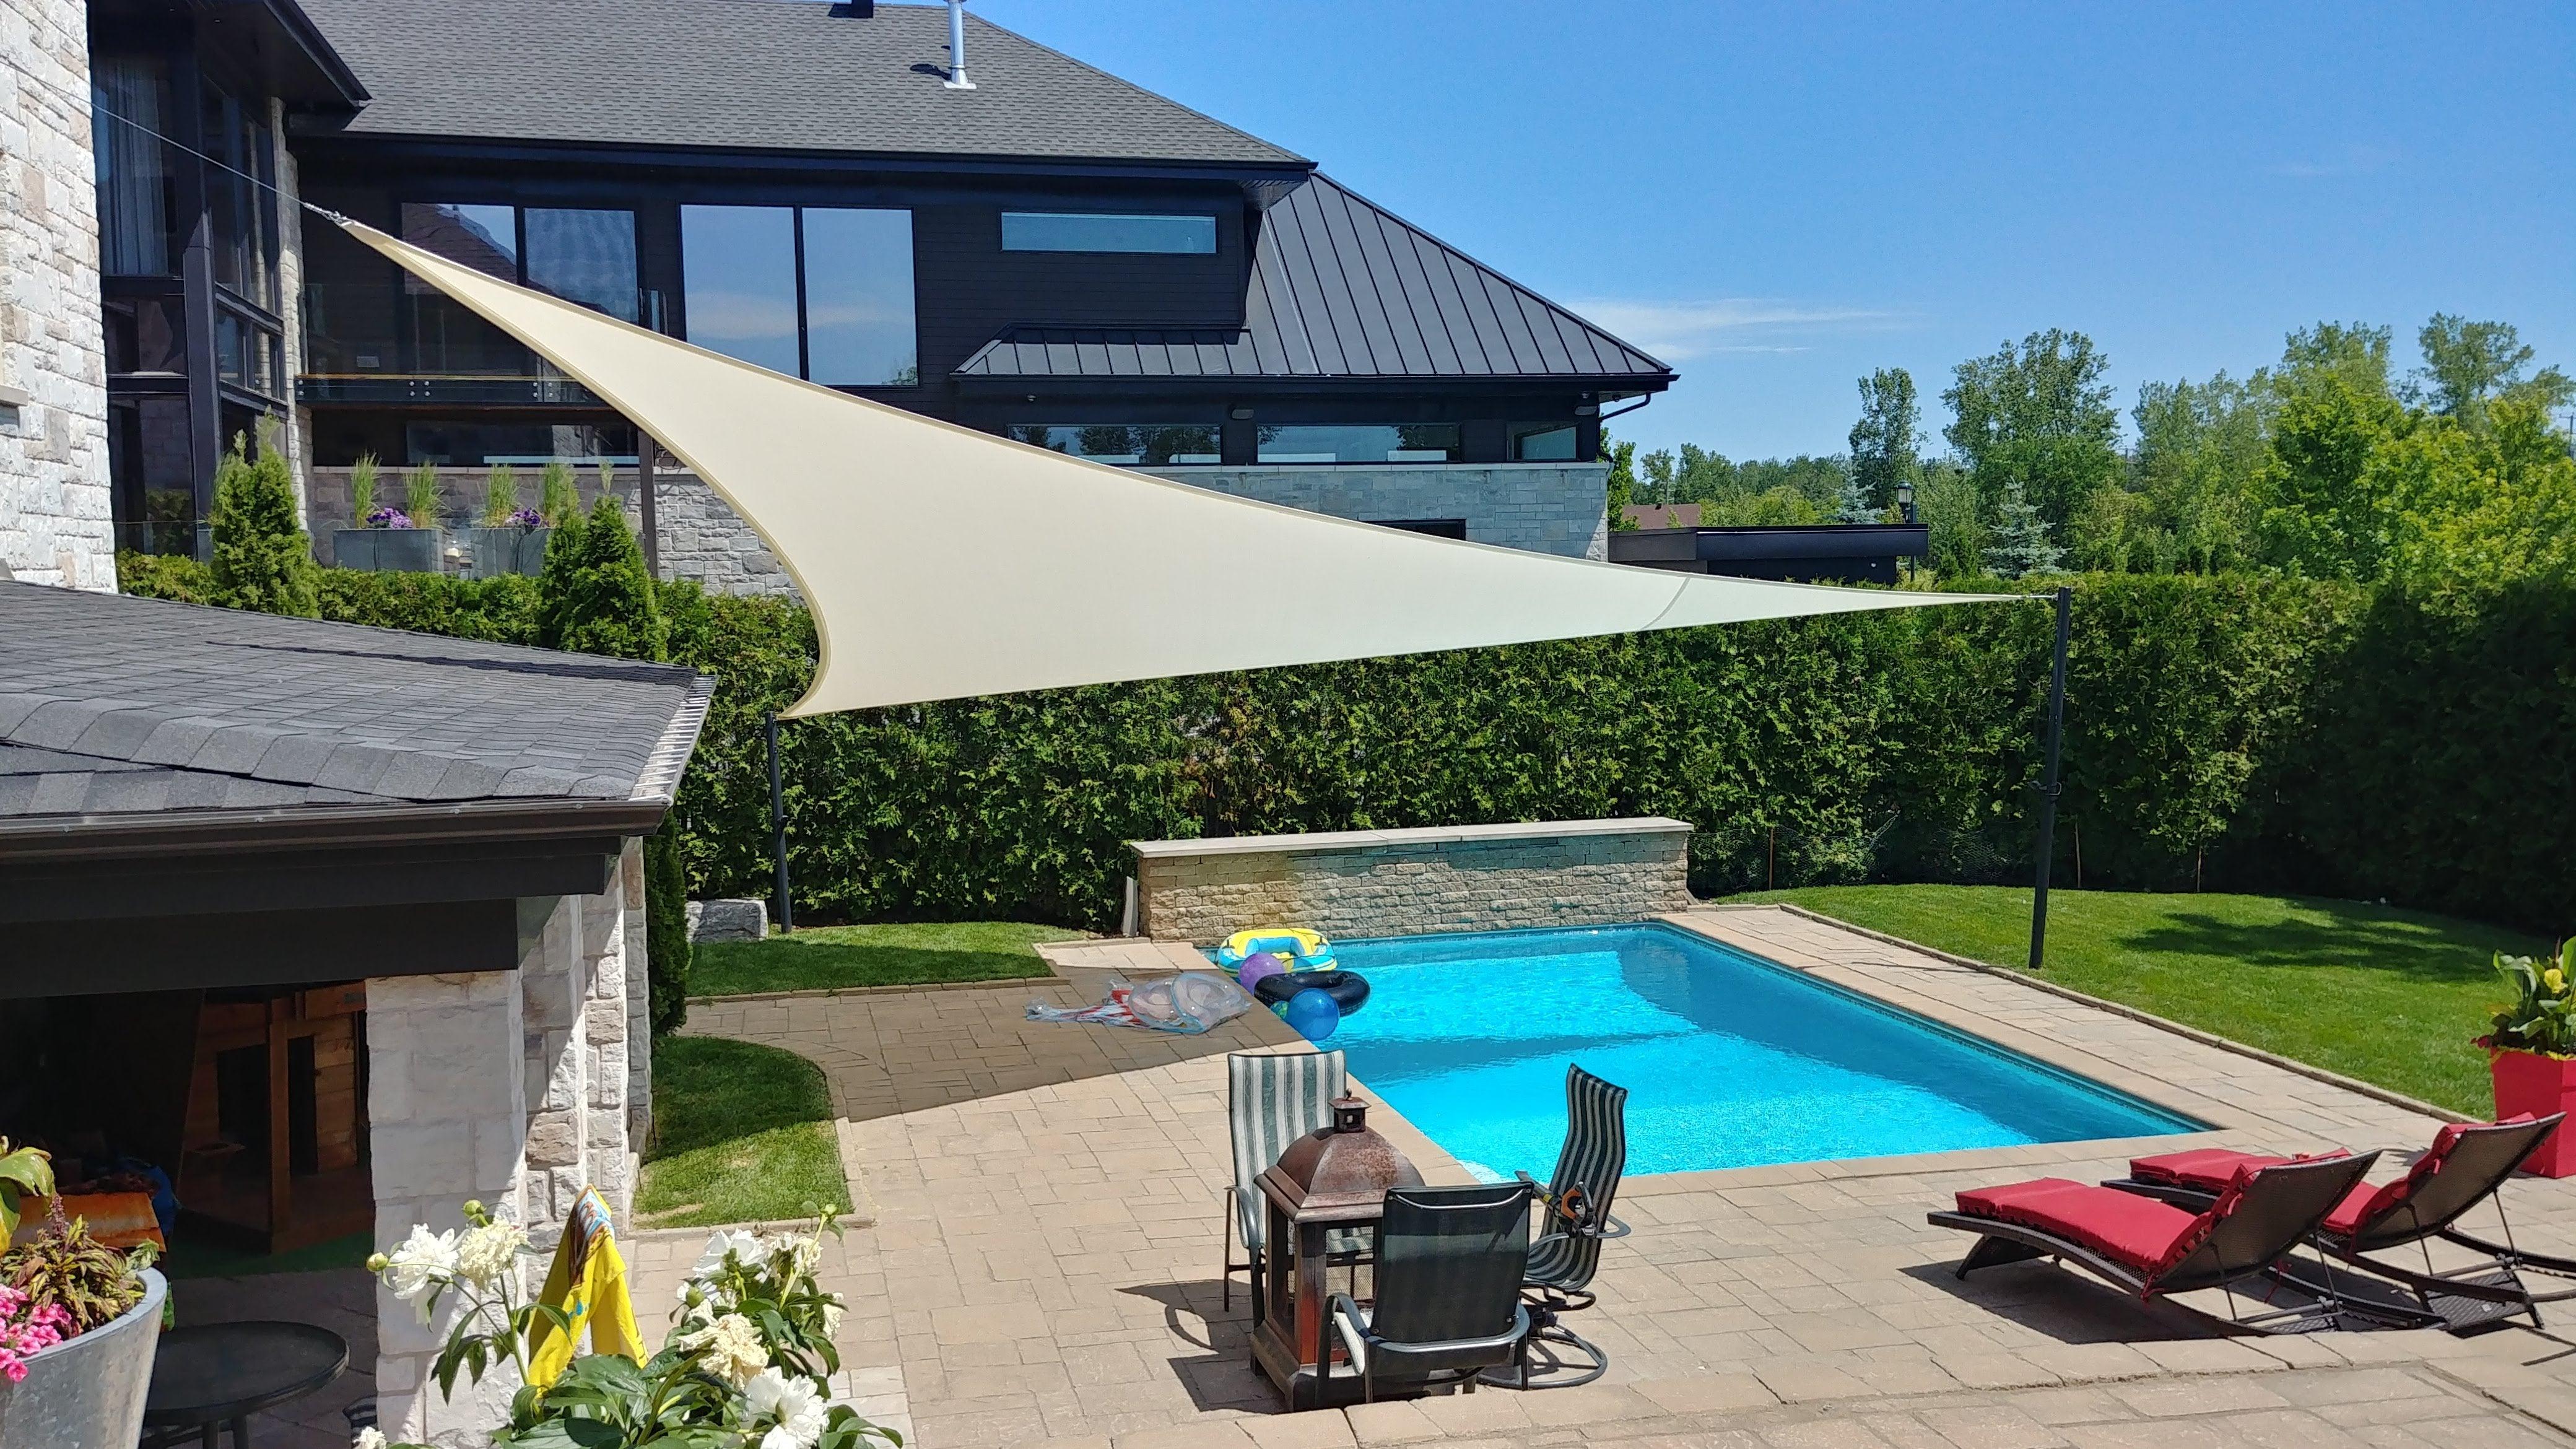
First things first, why does tensioning matter so much? Well, imagine a trampoline with loose springs. Not much fun, right? The same goes for your shade sail. If it’s not tensioned correctly, it will sag, flap, and generally fail to do its job. Worse yet, a poorly tensioned sail is more susceptible to damage from excessive movement in the wind. Proper tensioning not only keeps your sail taut and looking sharp but also extends its lifespan—saving you from premature replacements and a lot of frustration.
Steps to Tension Your Shade Sail Like a Pro
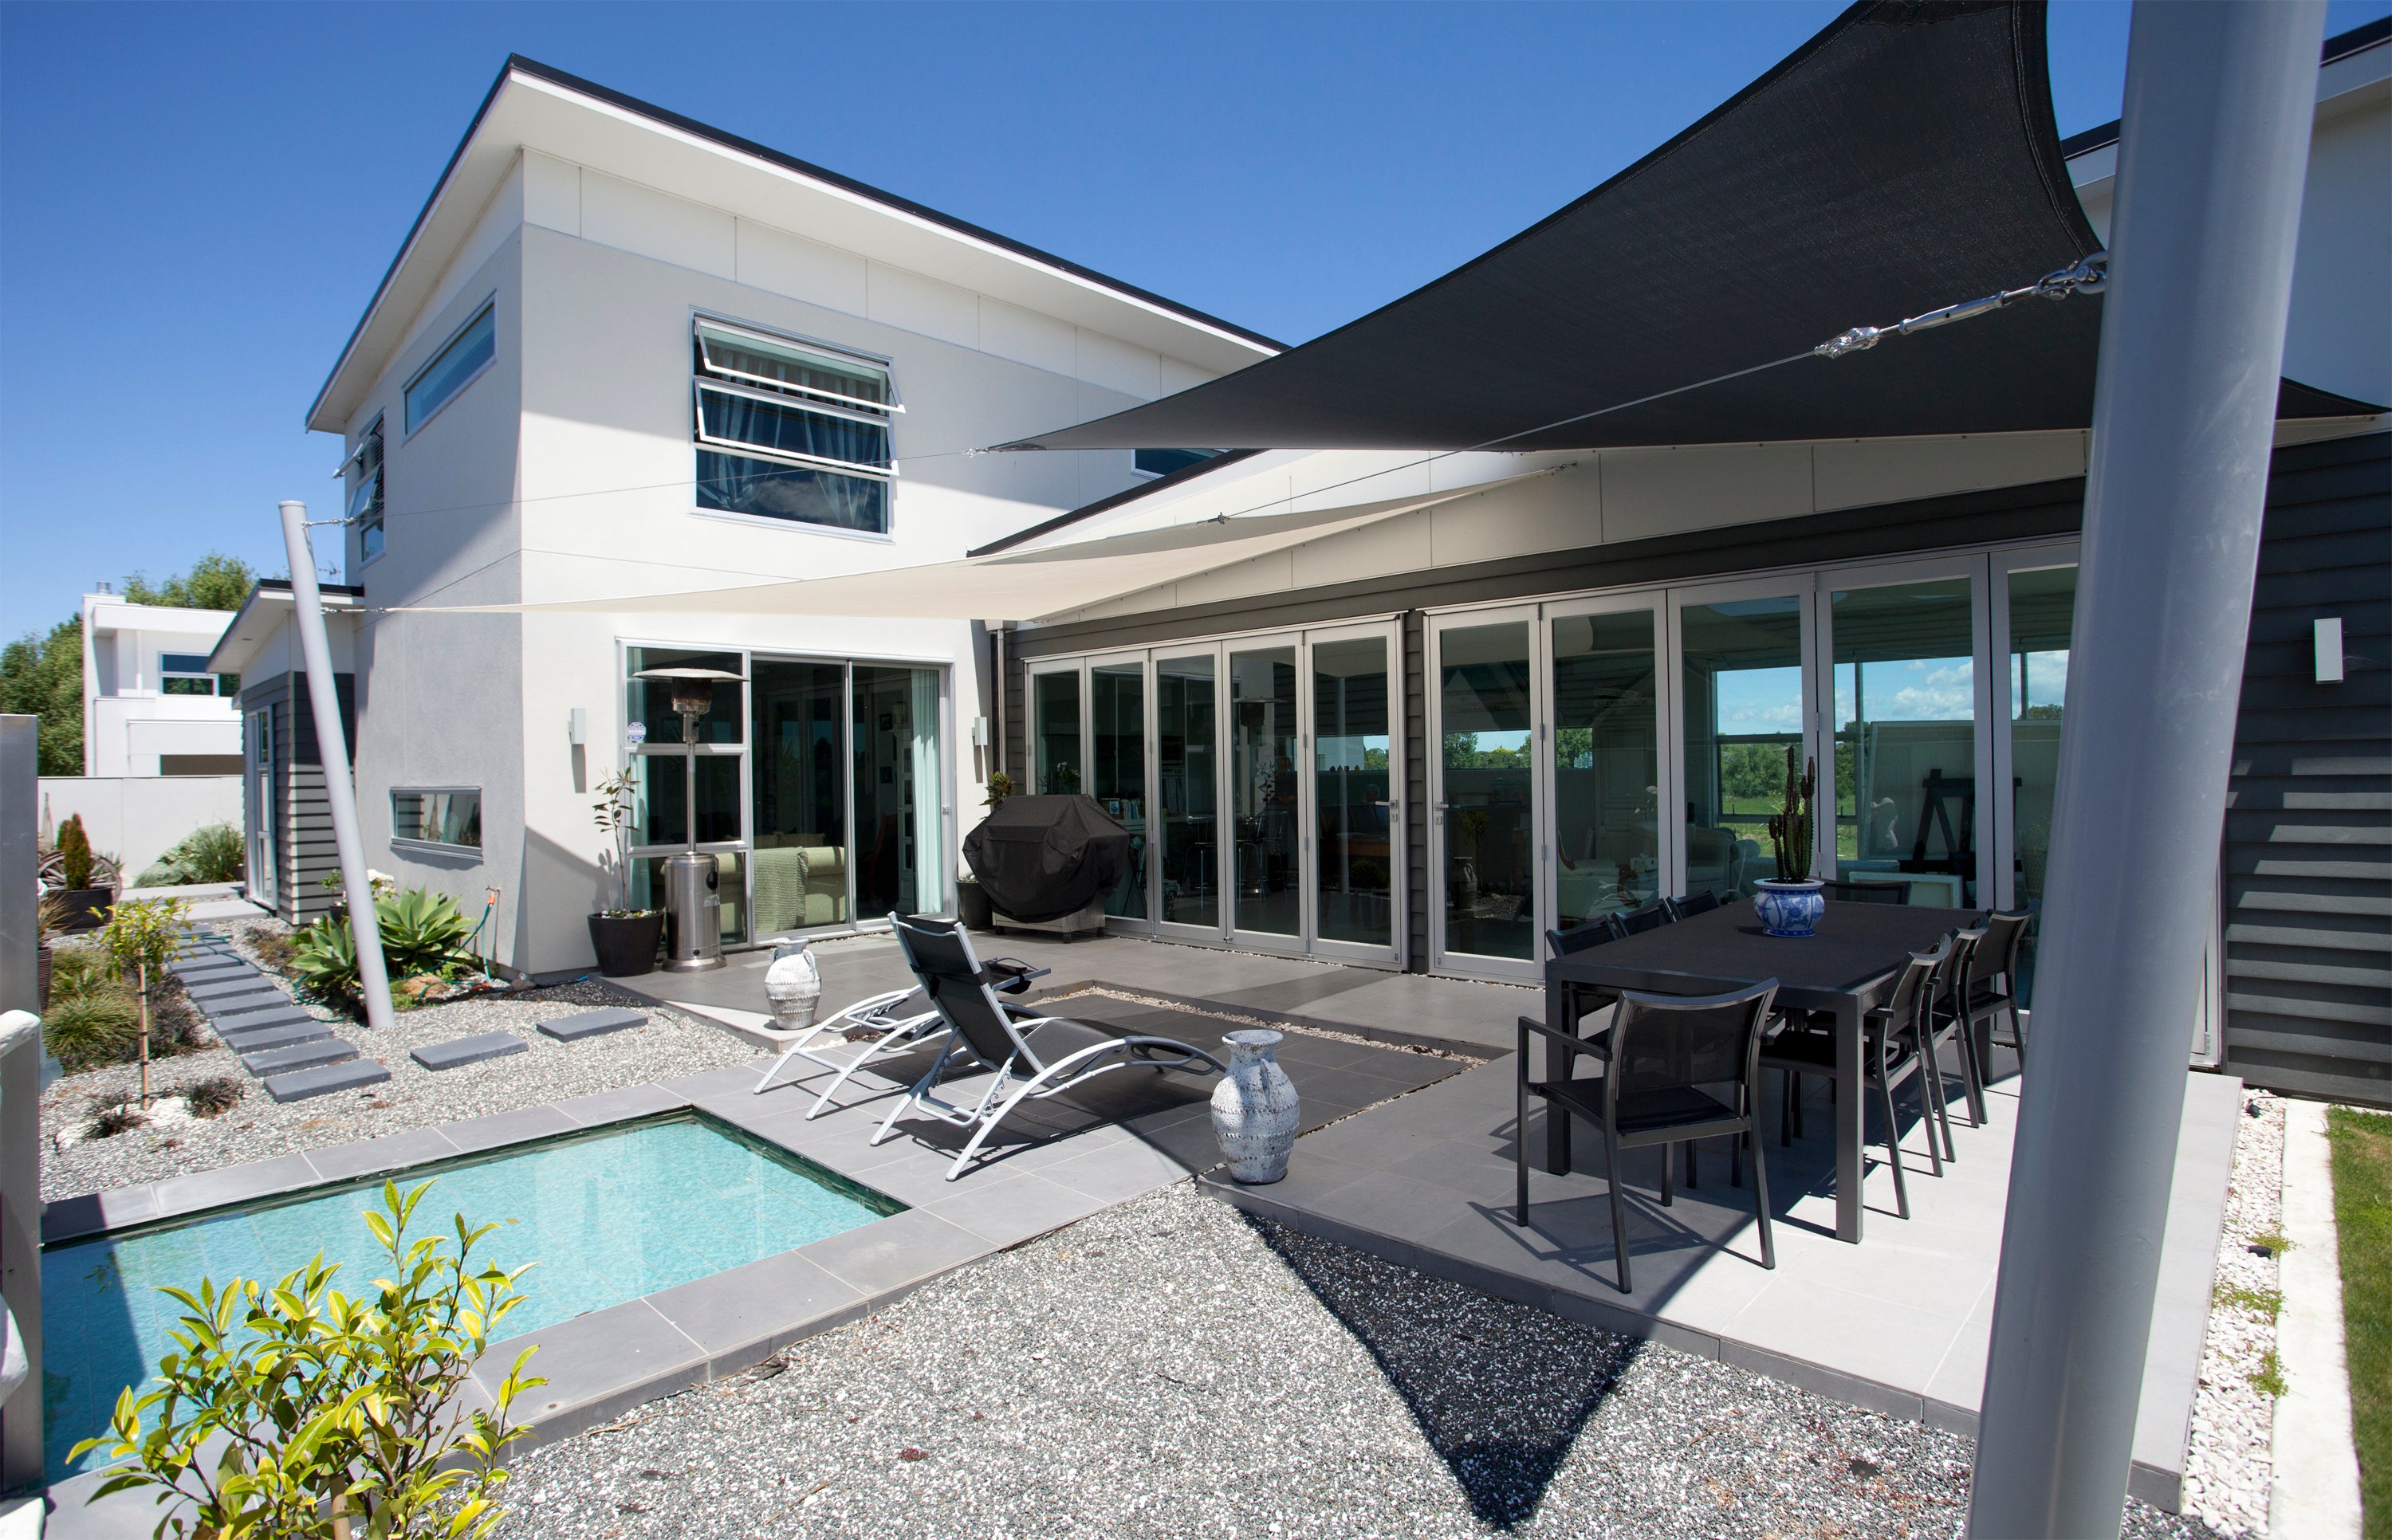
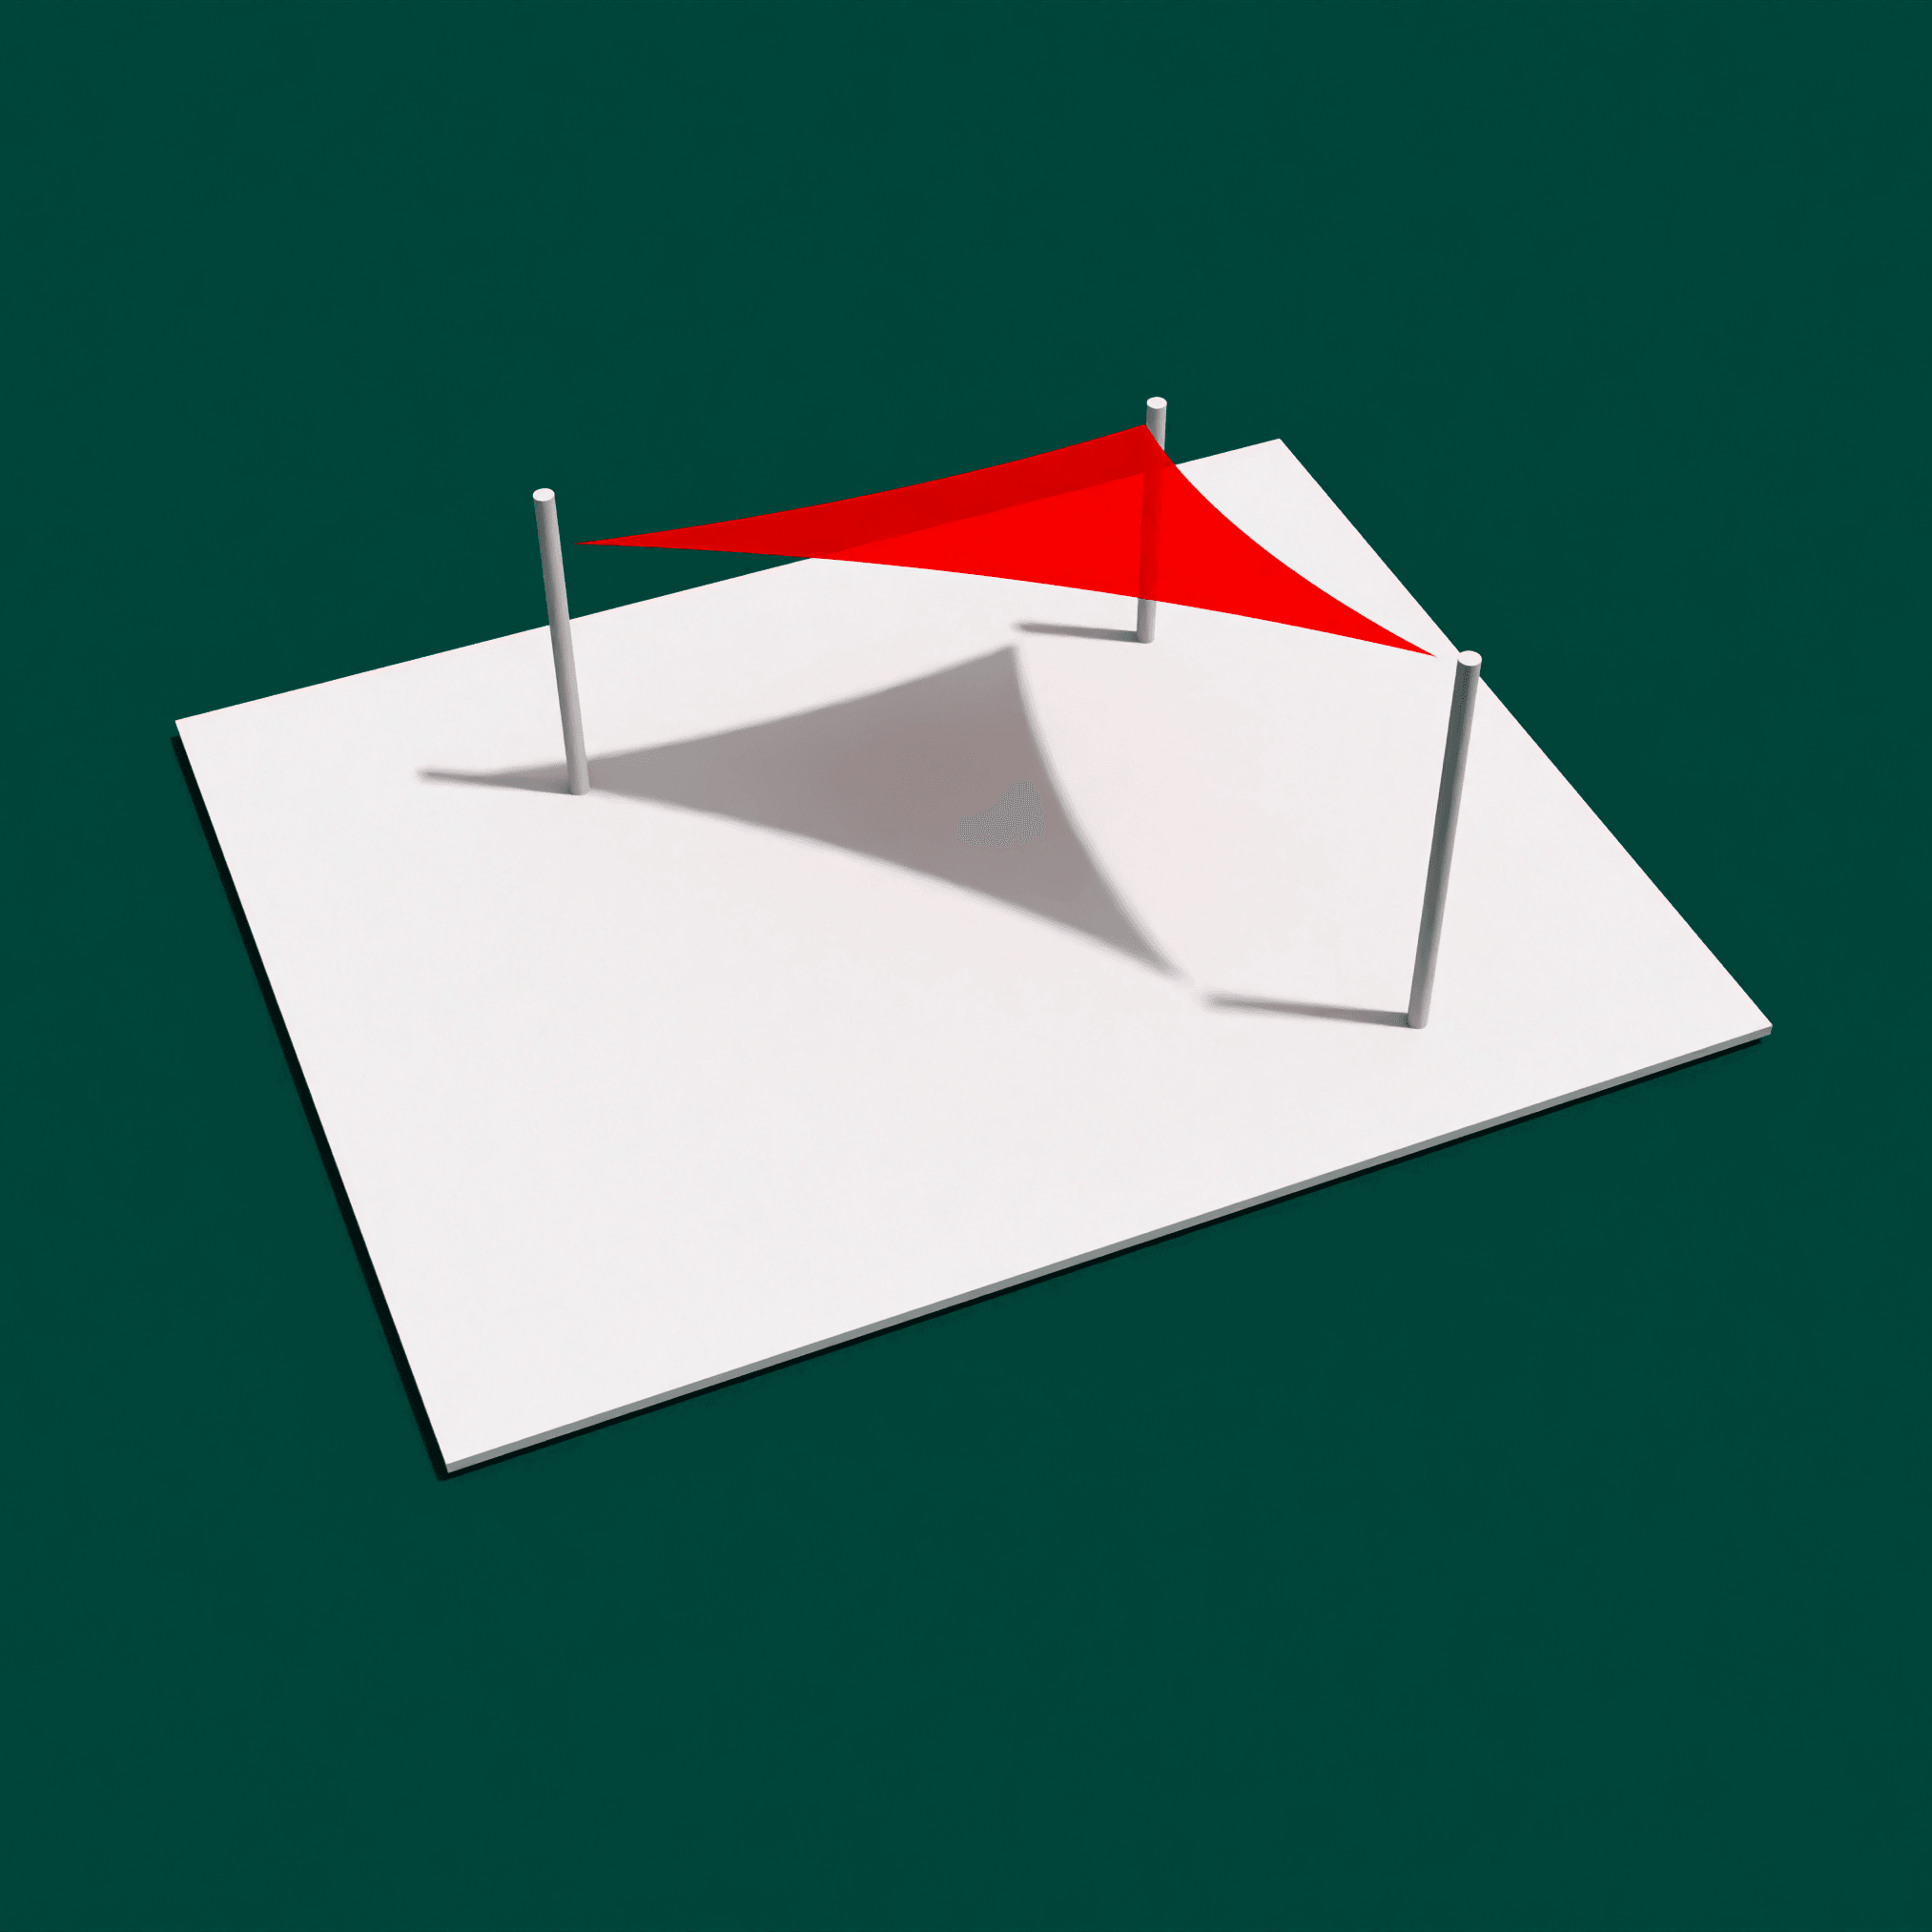
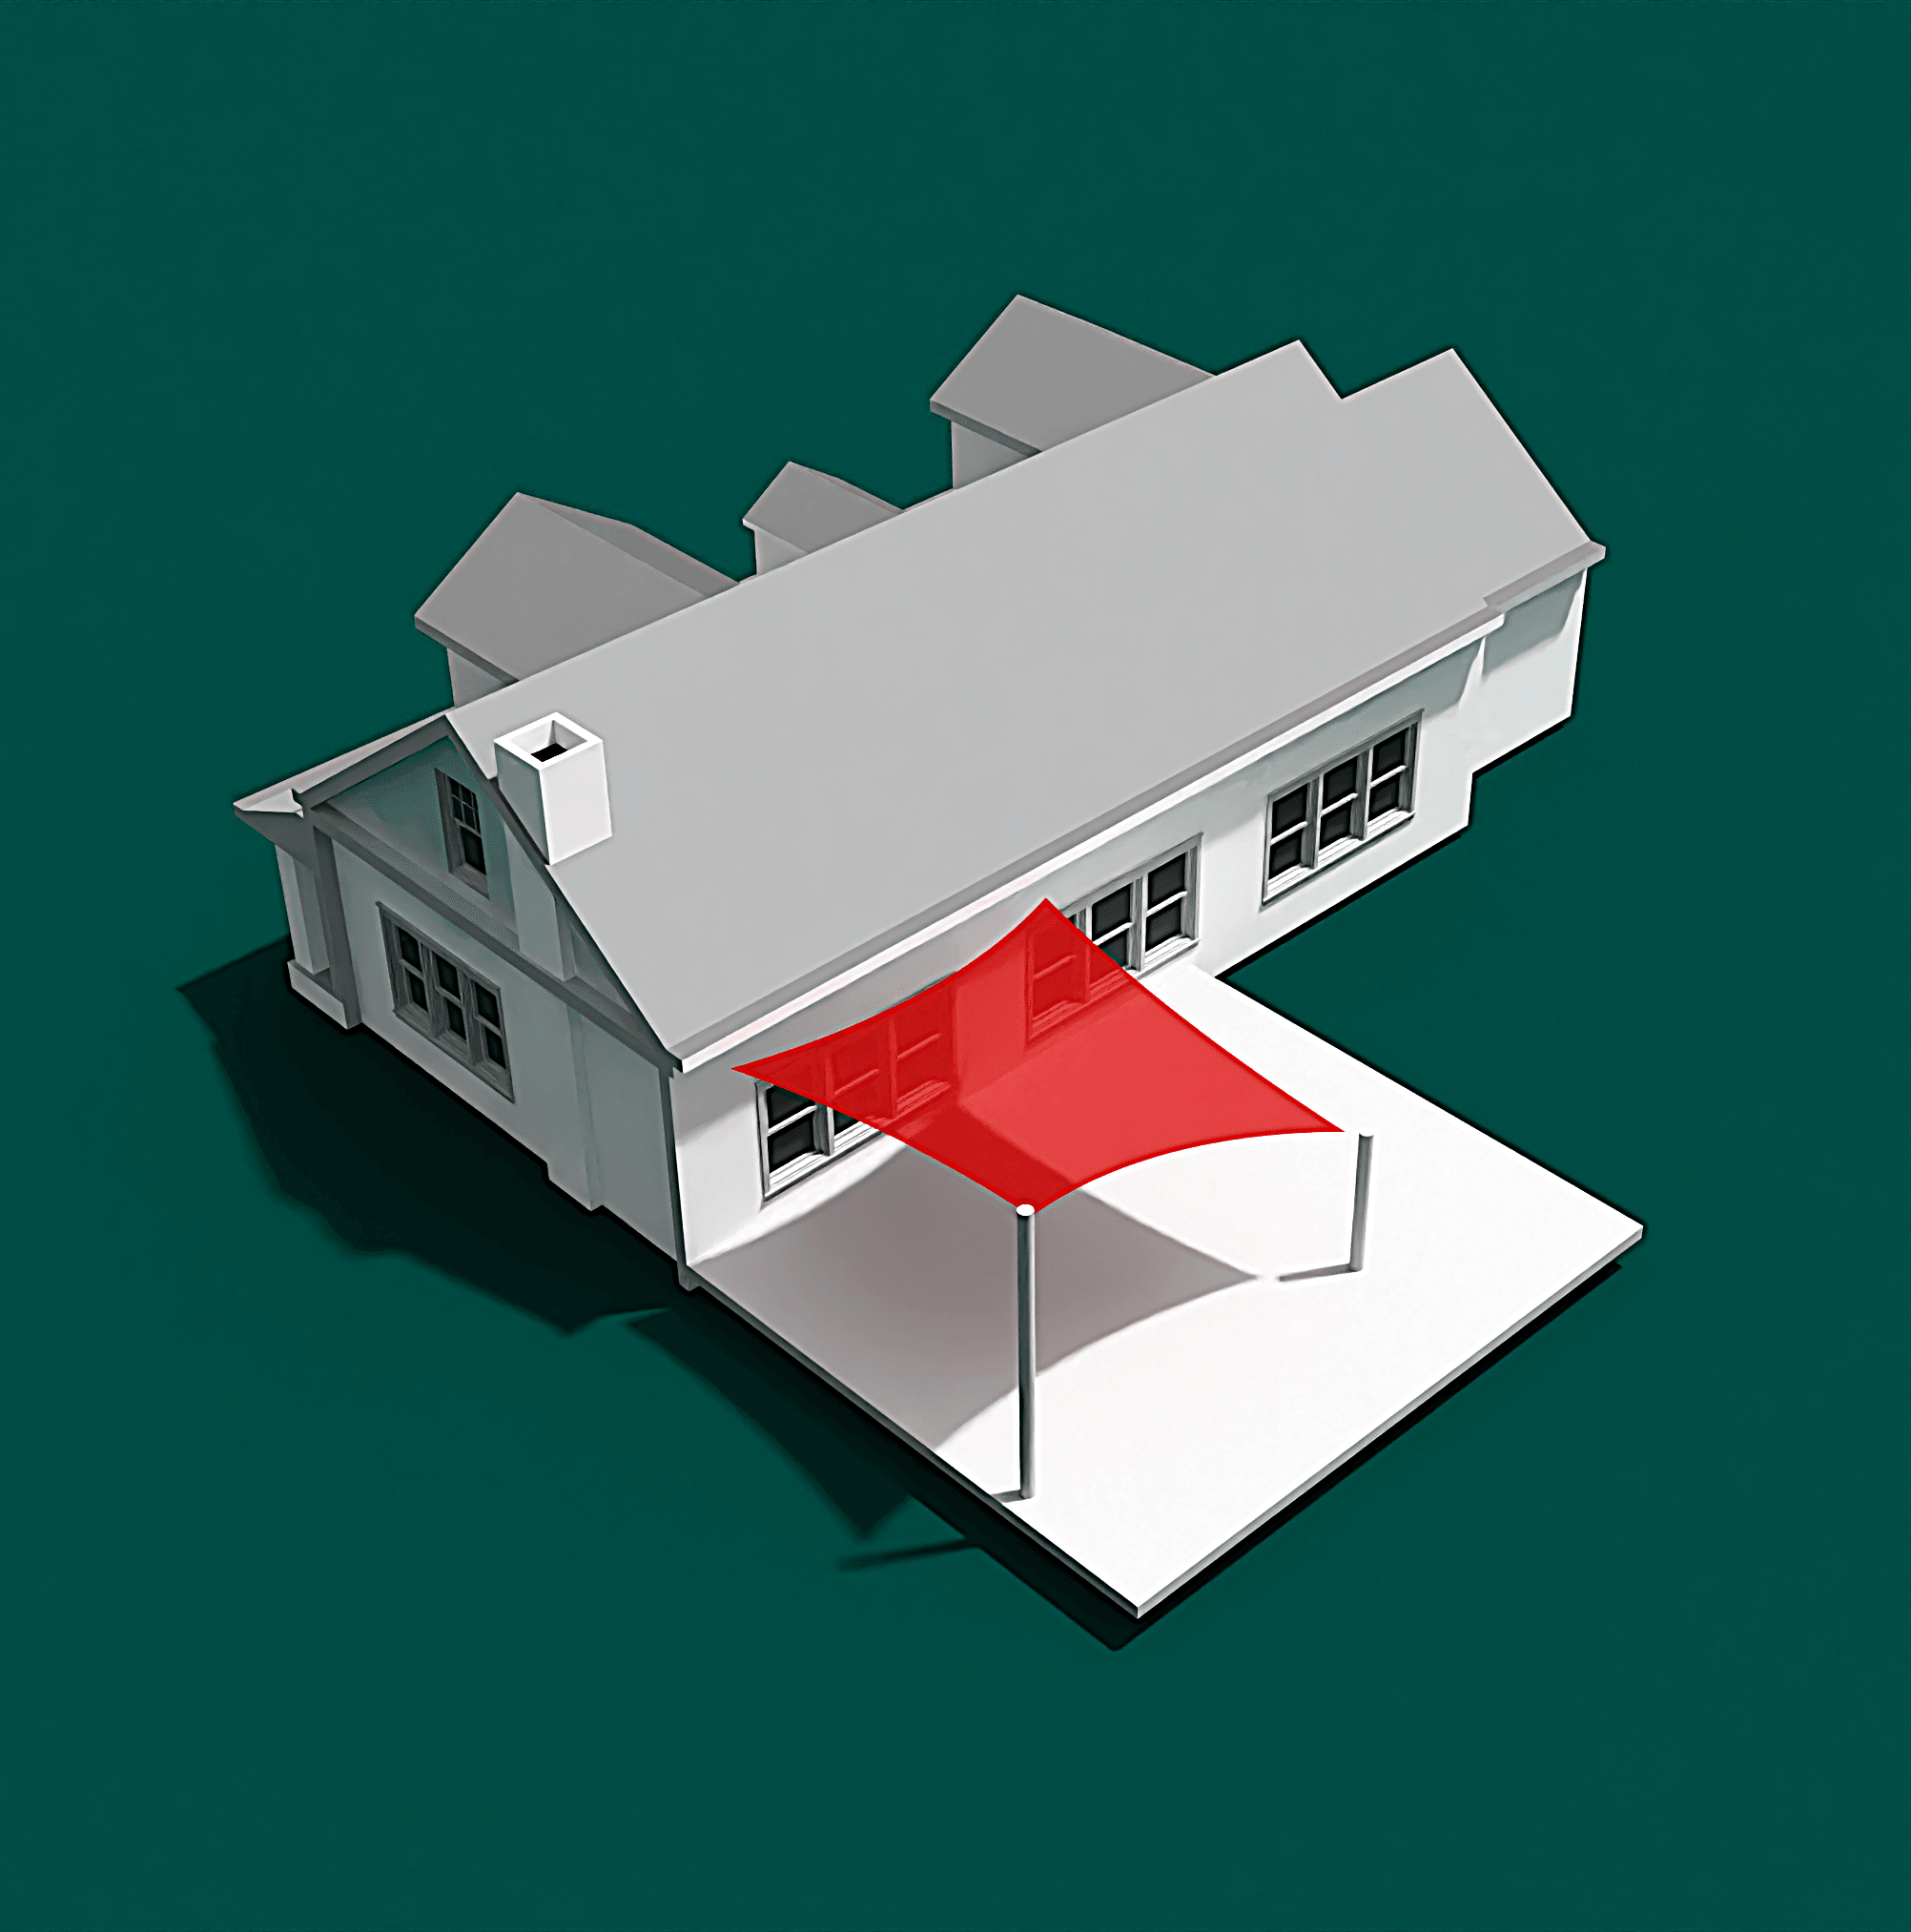
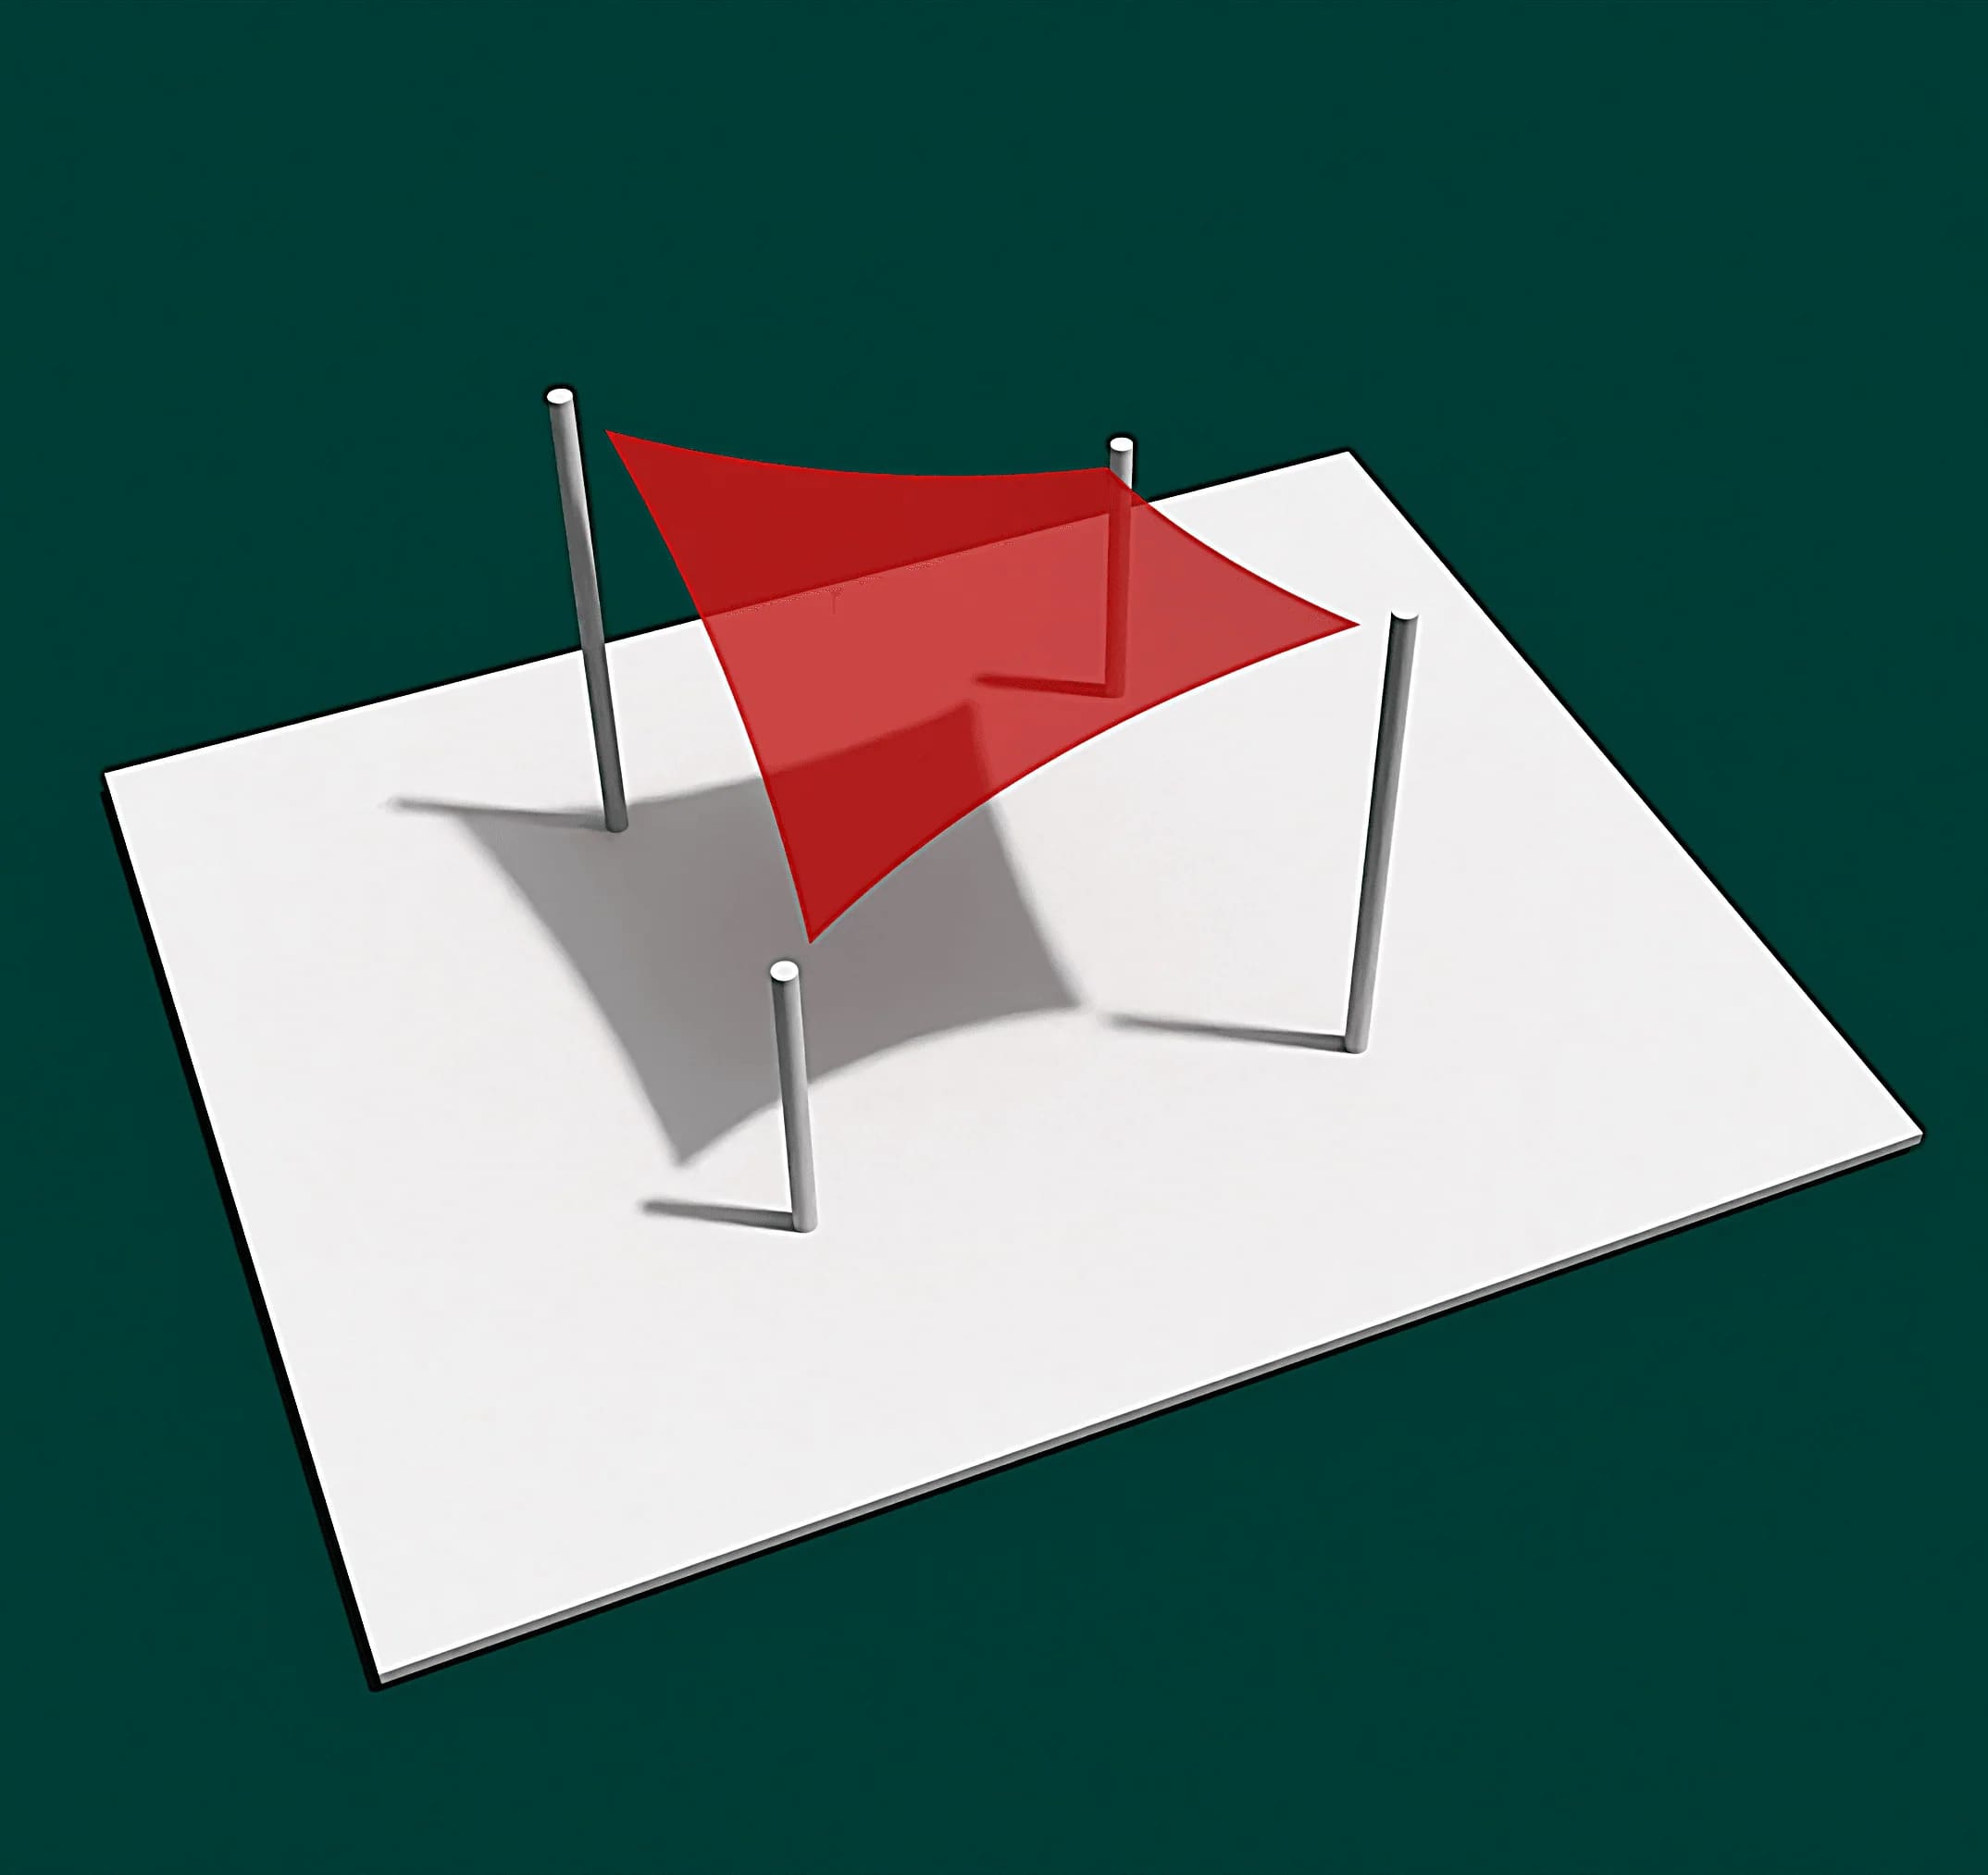
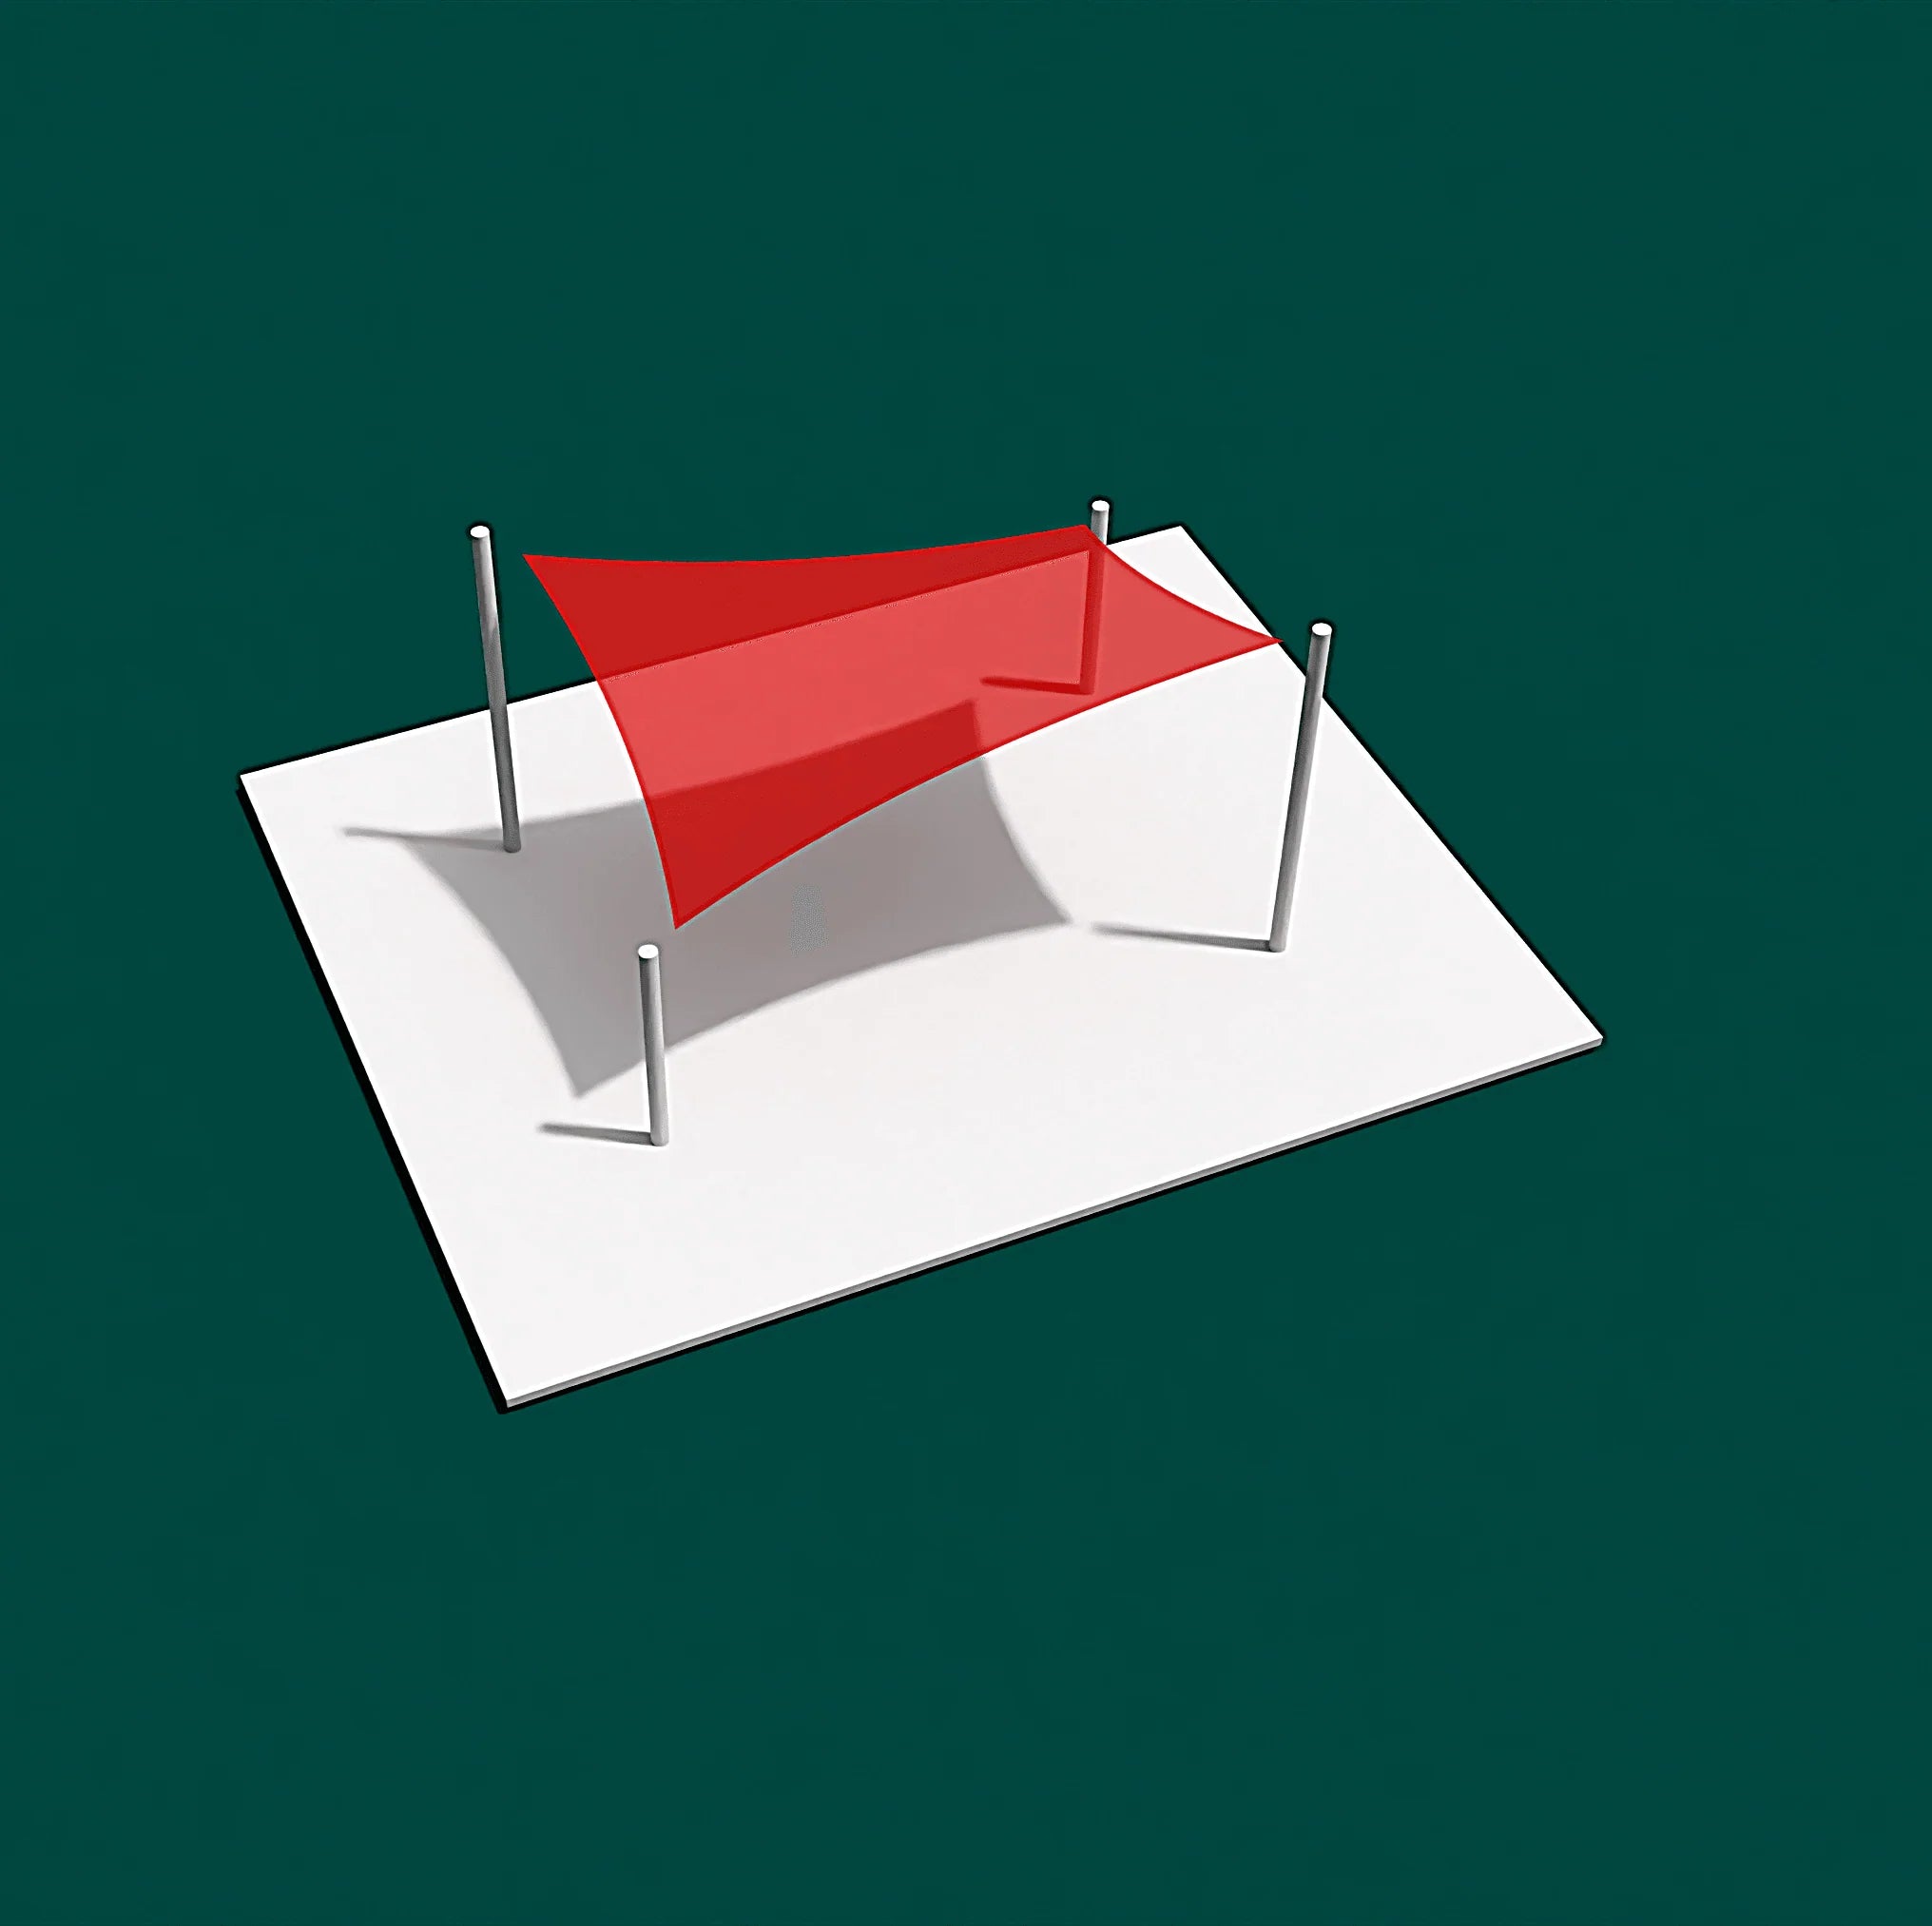
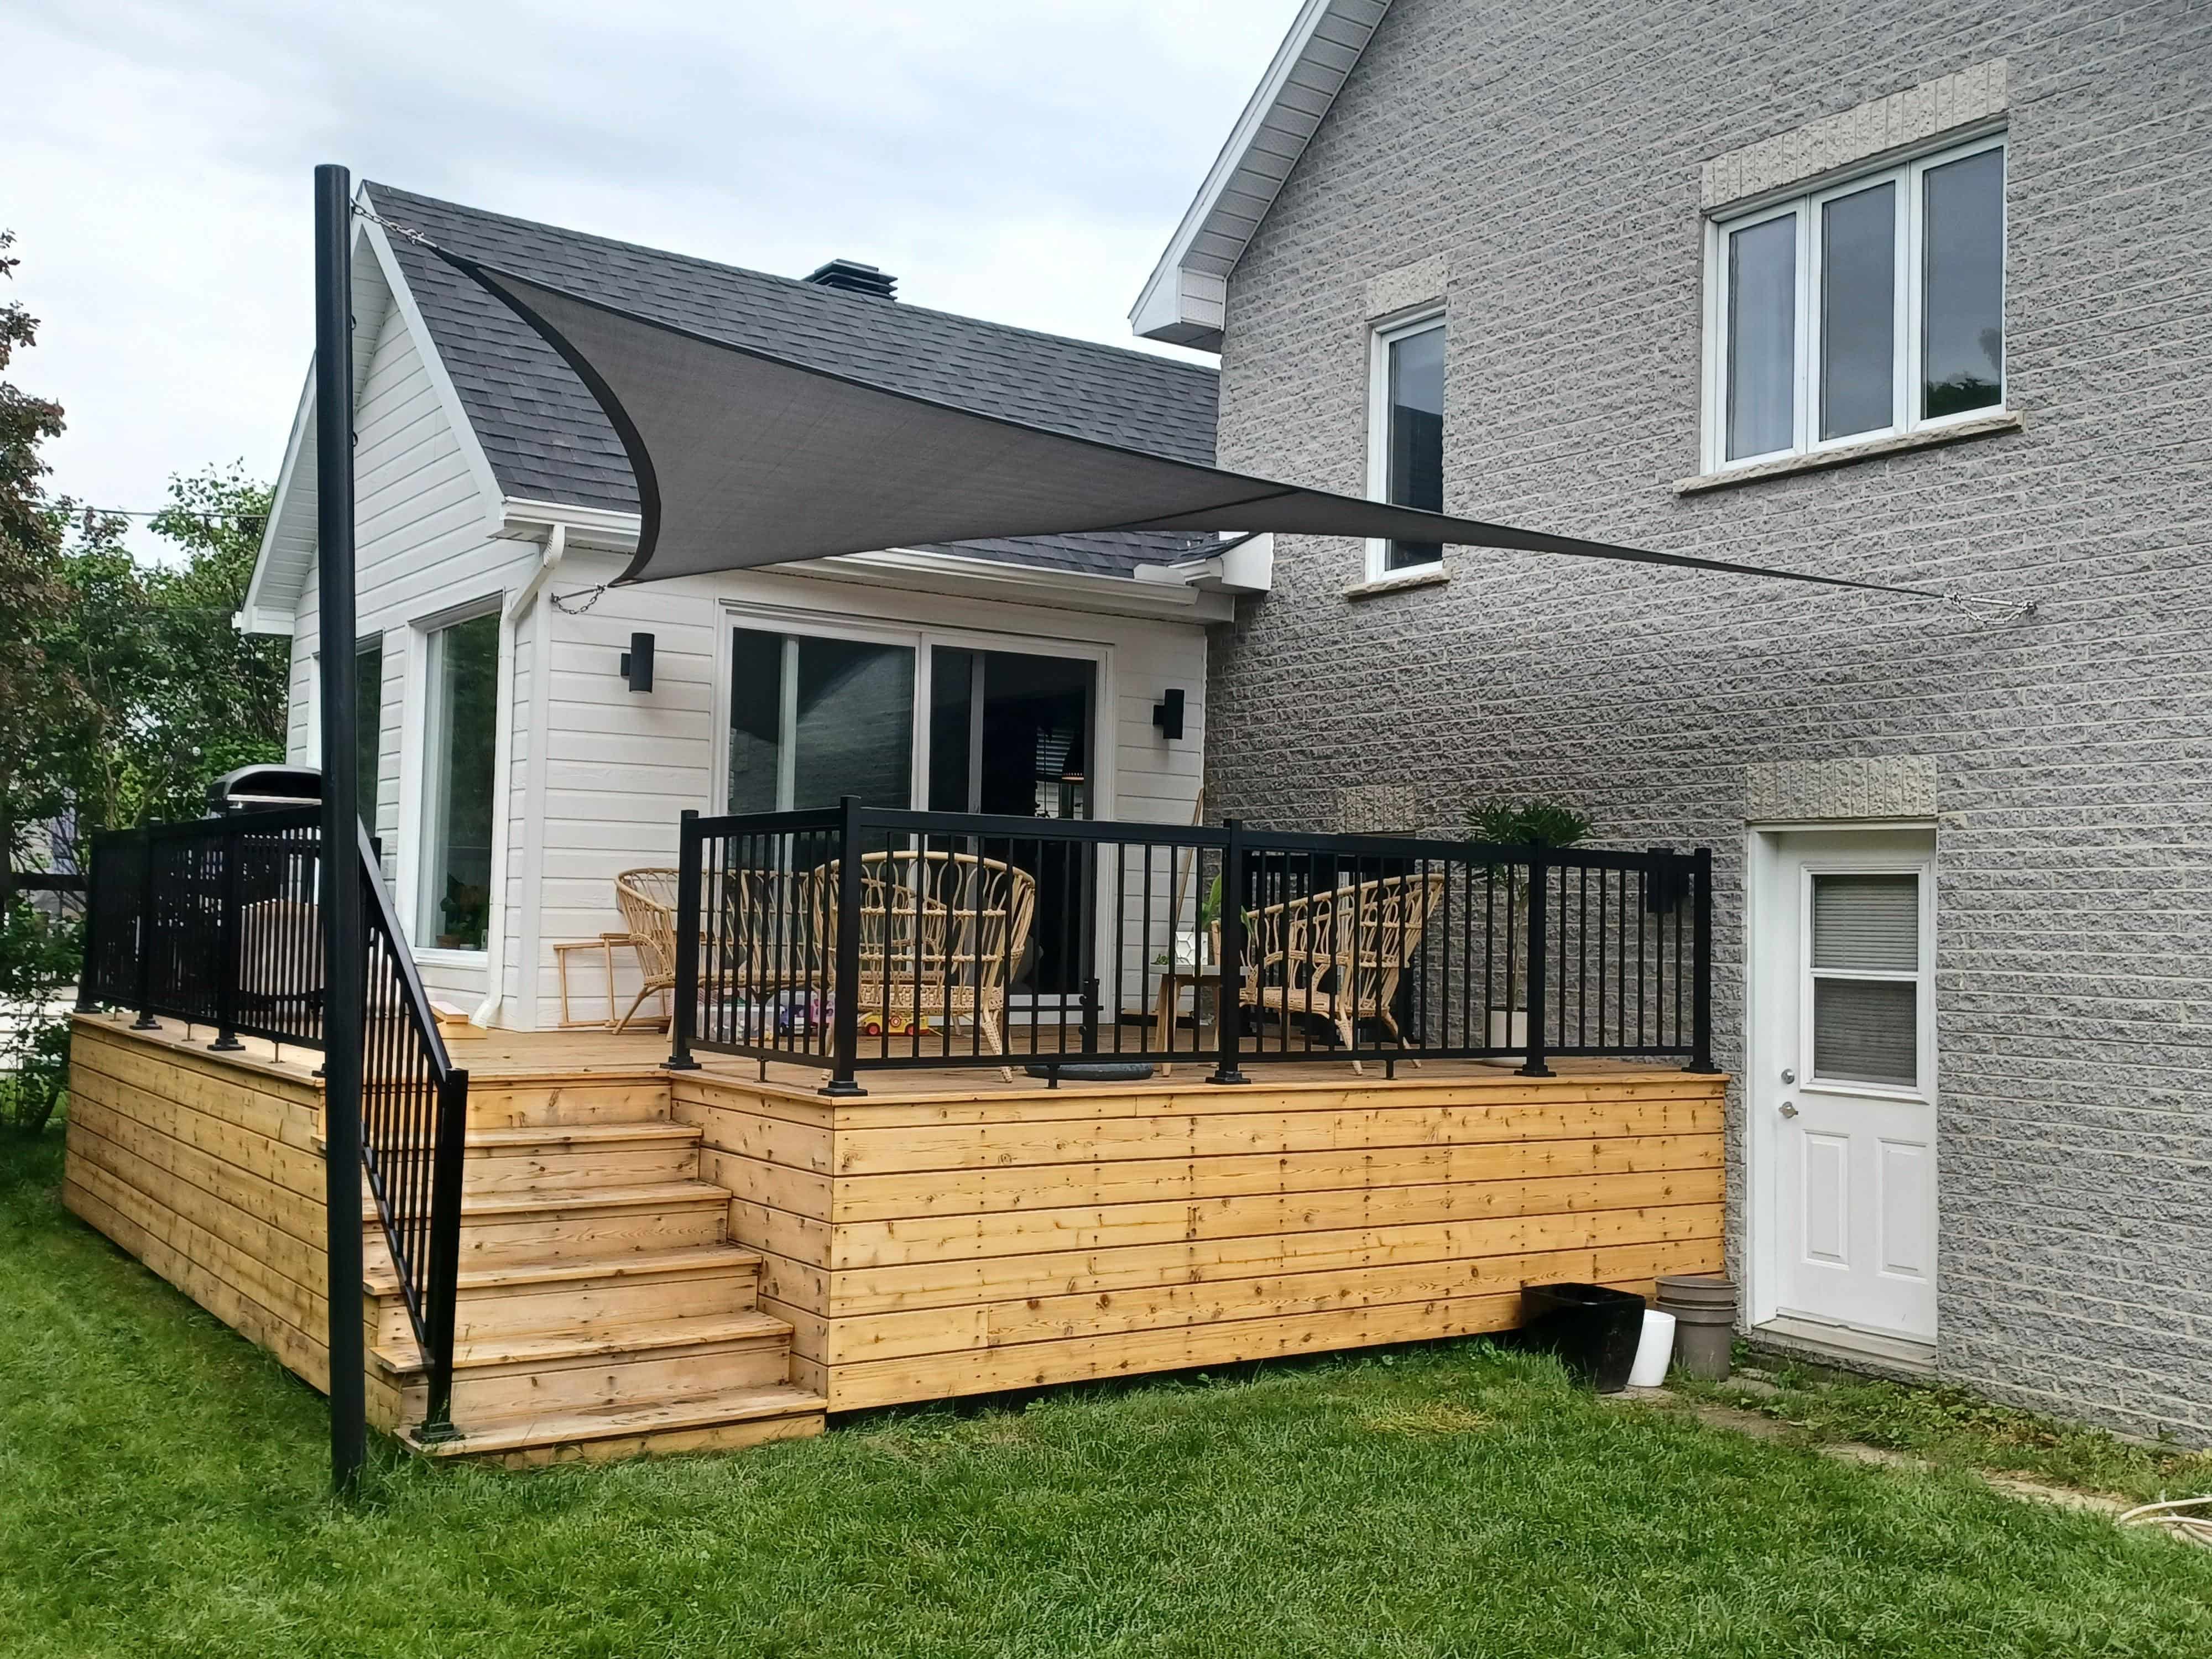
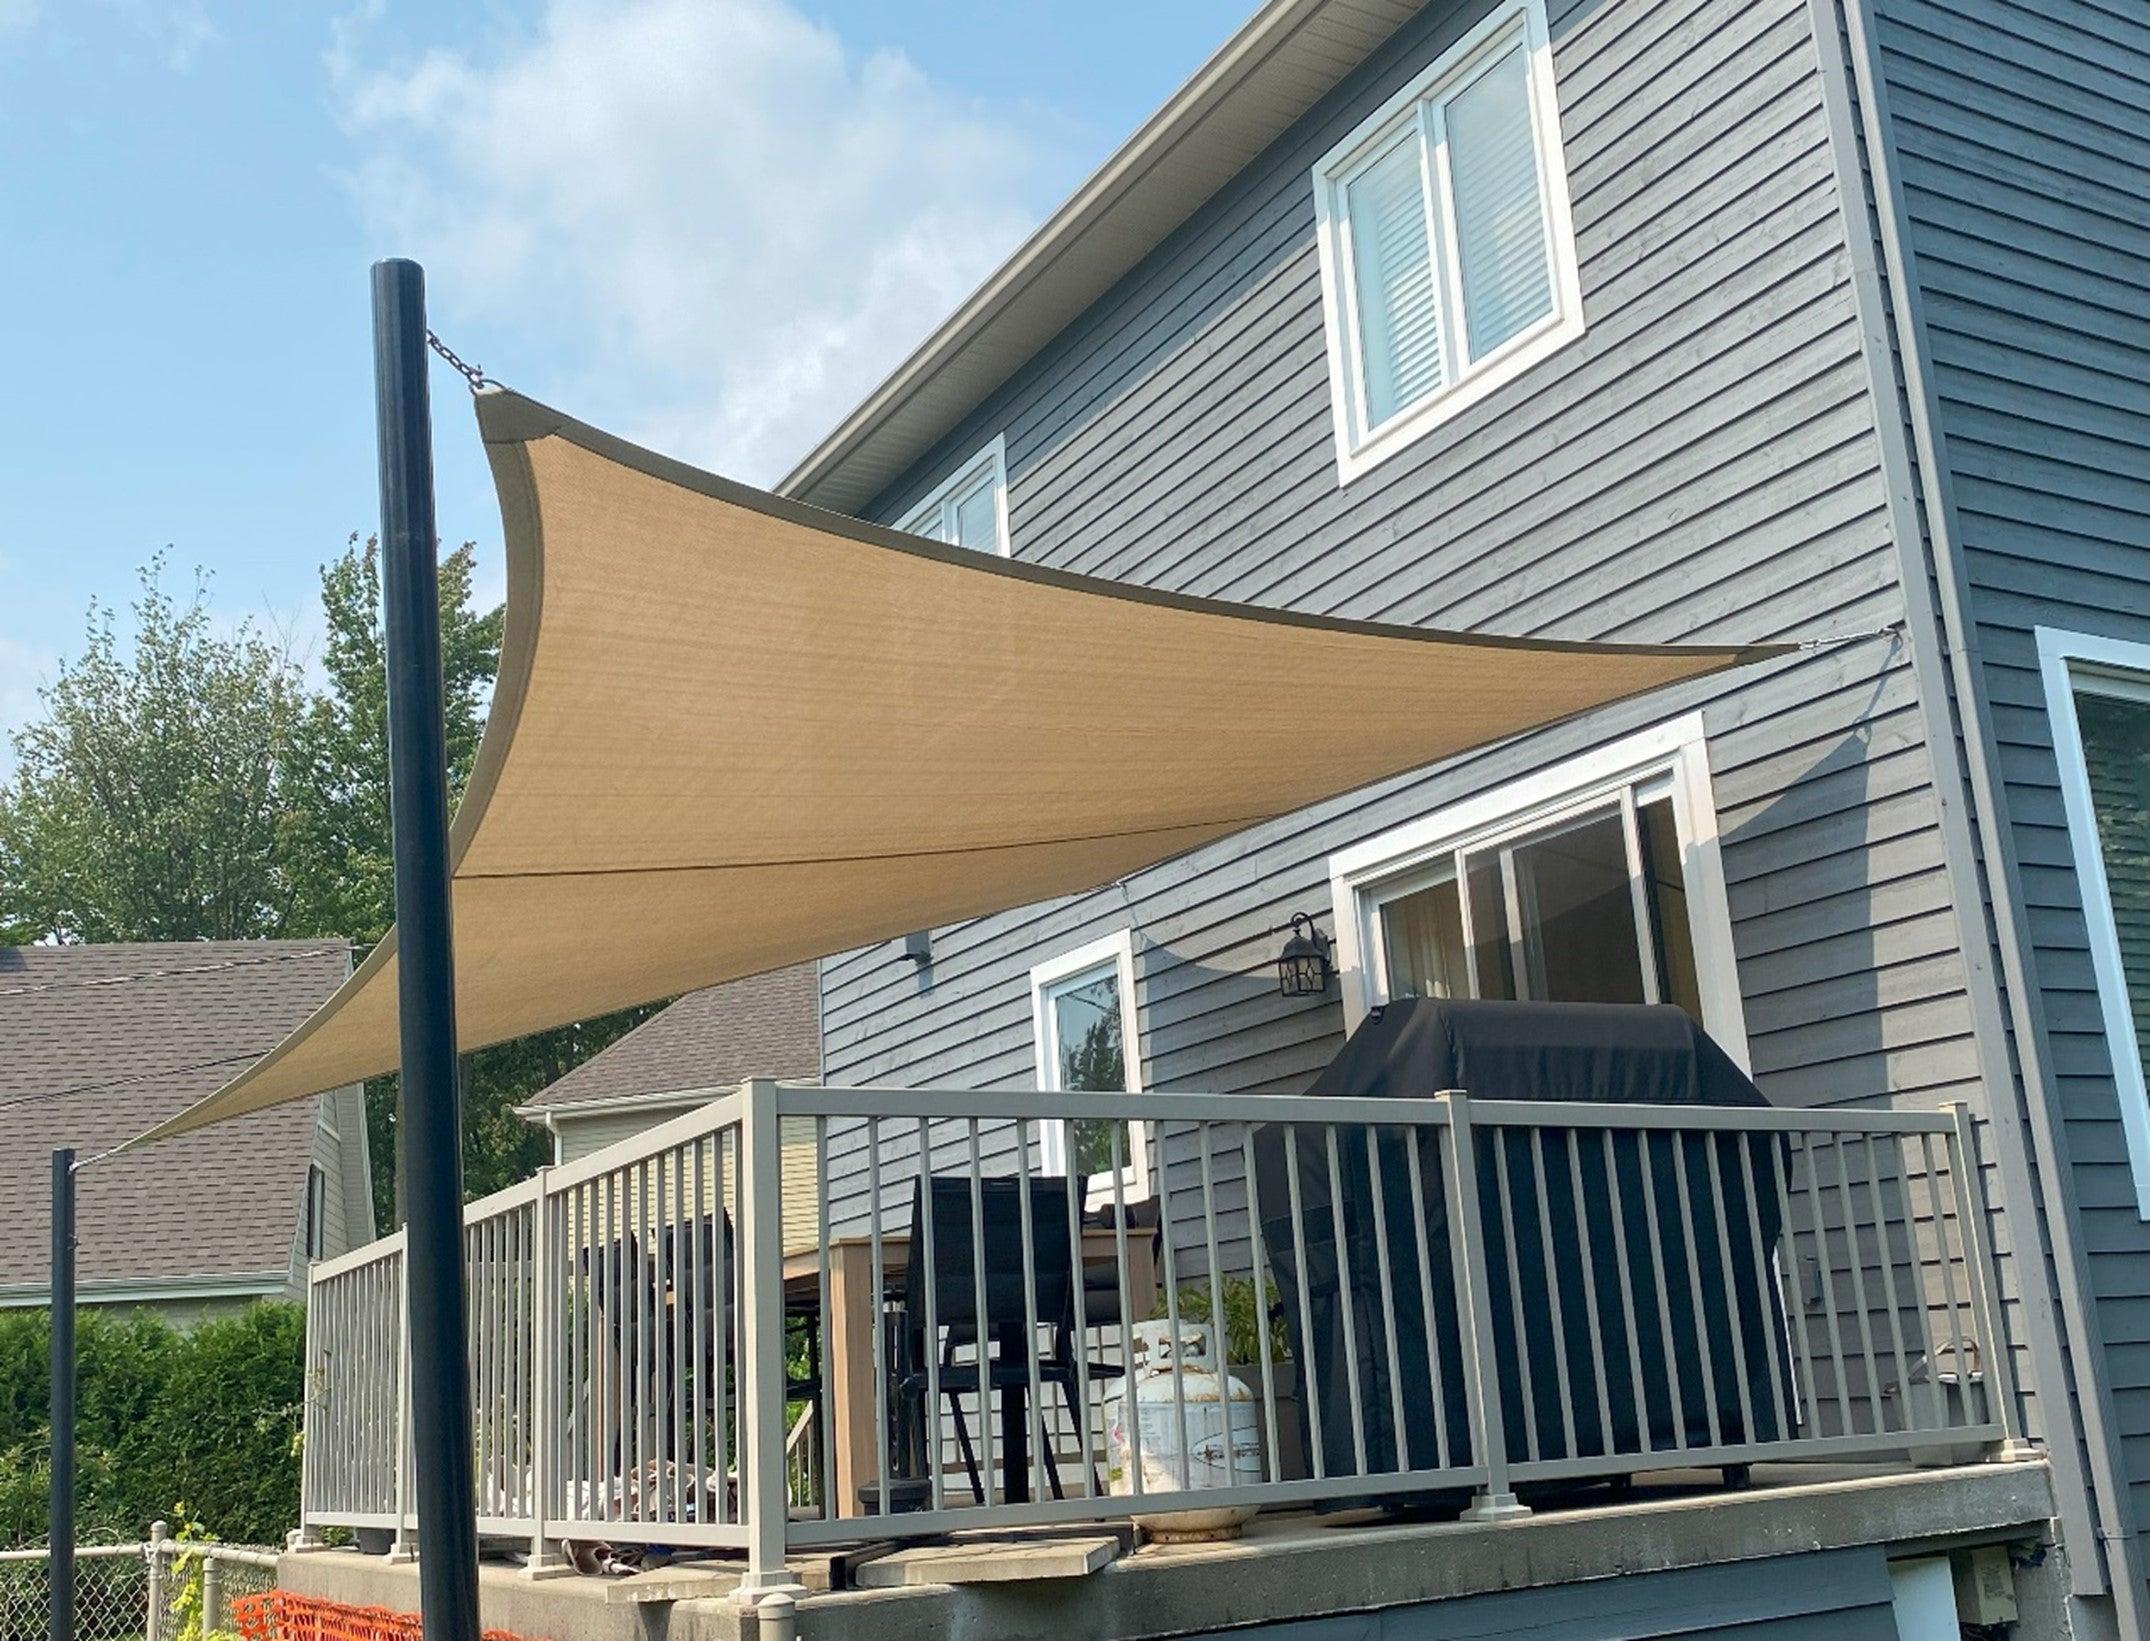
1. Start with the Right Setup: Before you think about tensioning, ensure your mounting points are solid and correctly positioned. Varying heights can help in a number of ways, so check out our guide on The Importance of Varying Heights for Shade Sail Mount Points for more tips.
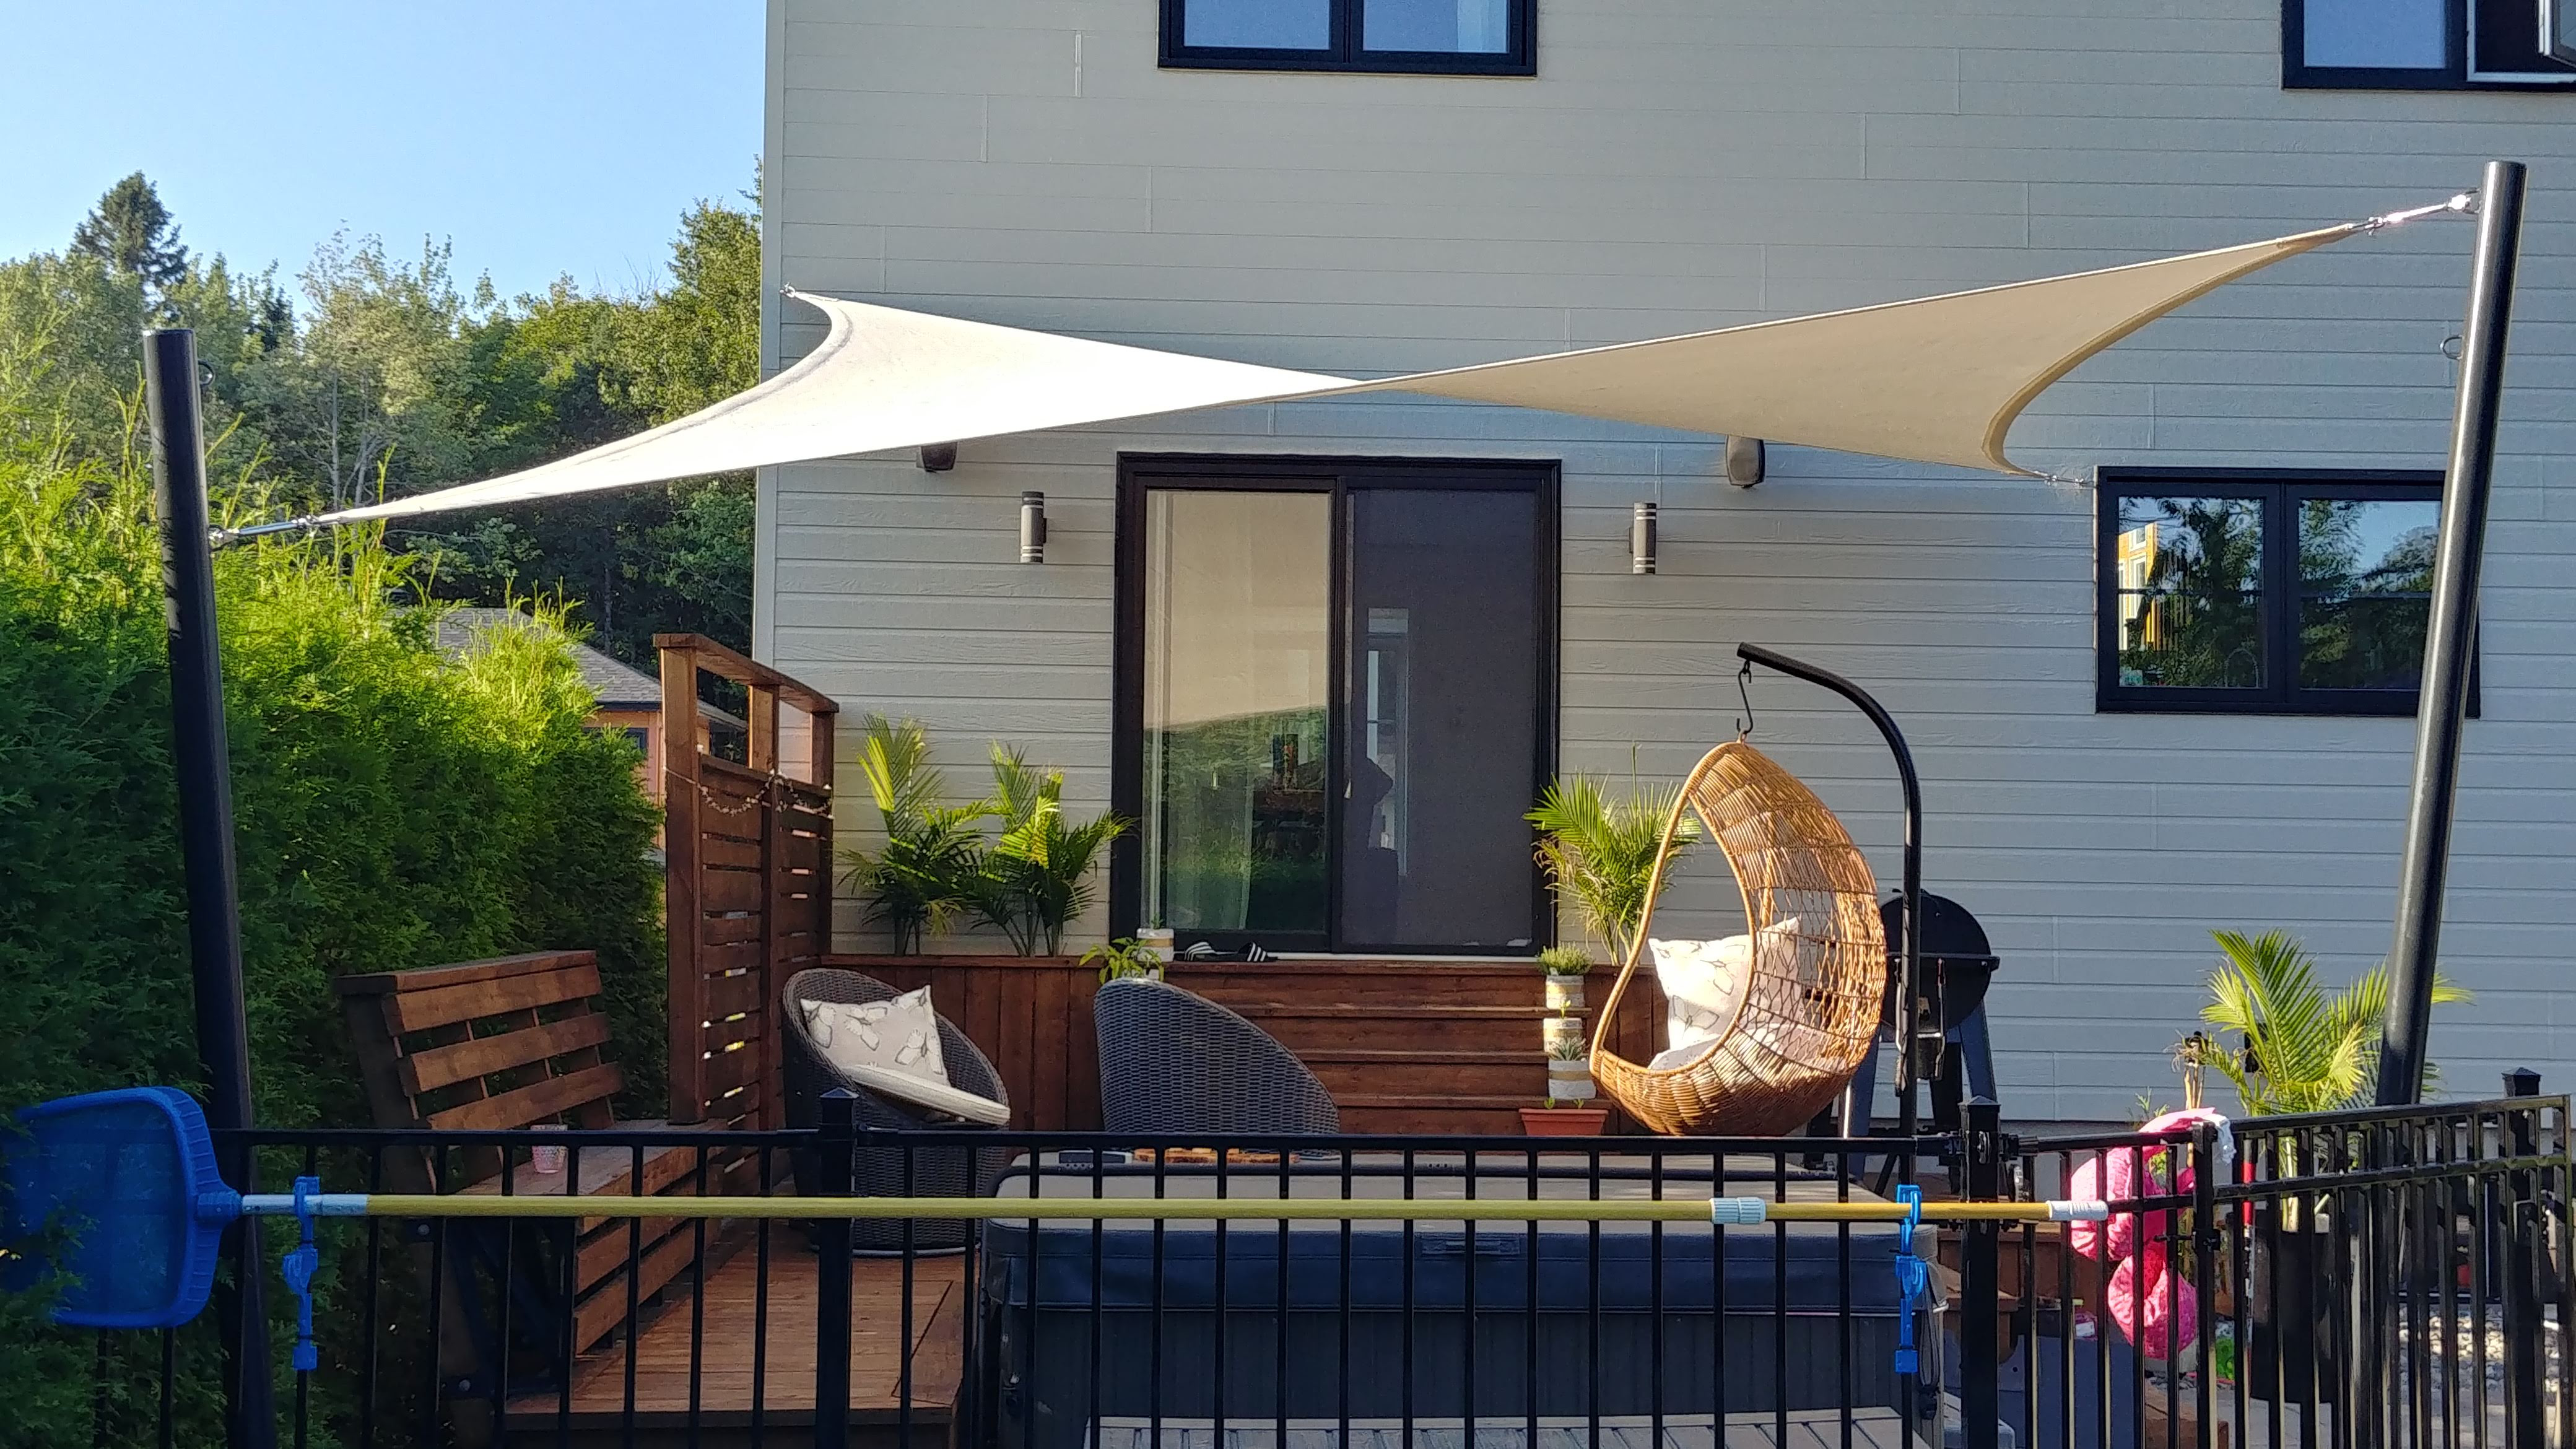
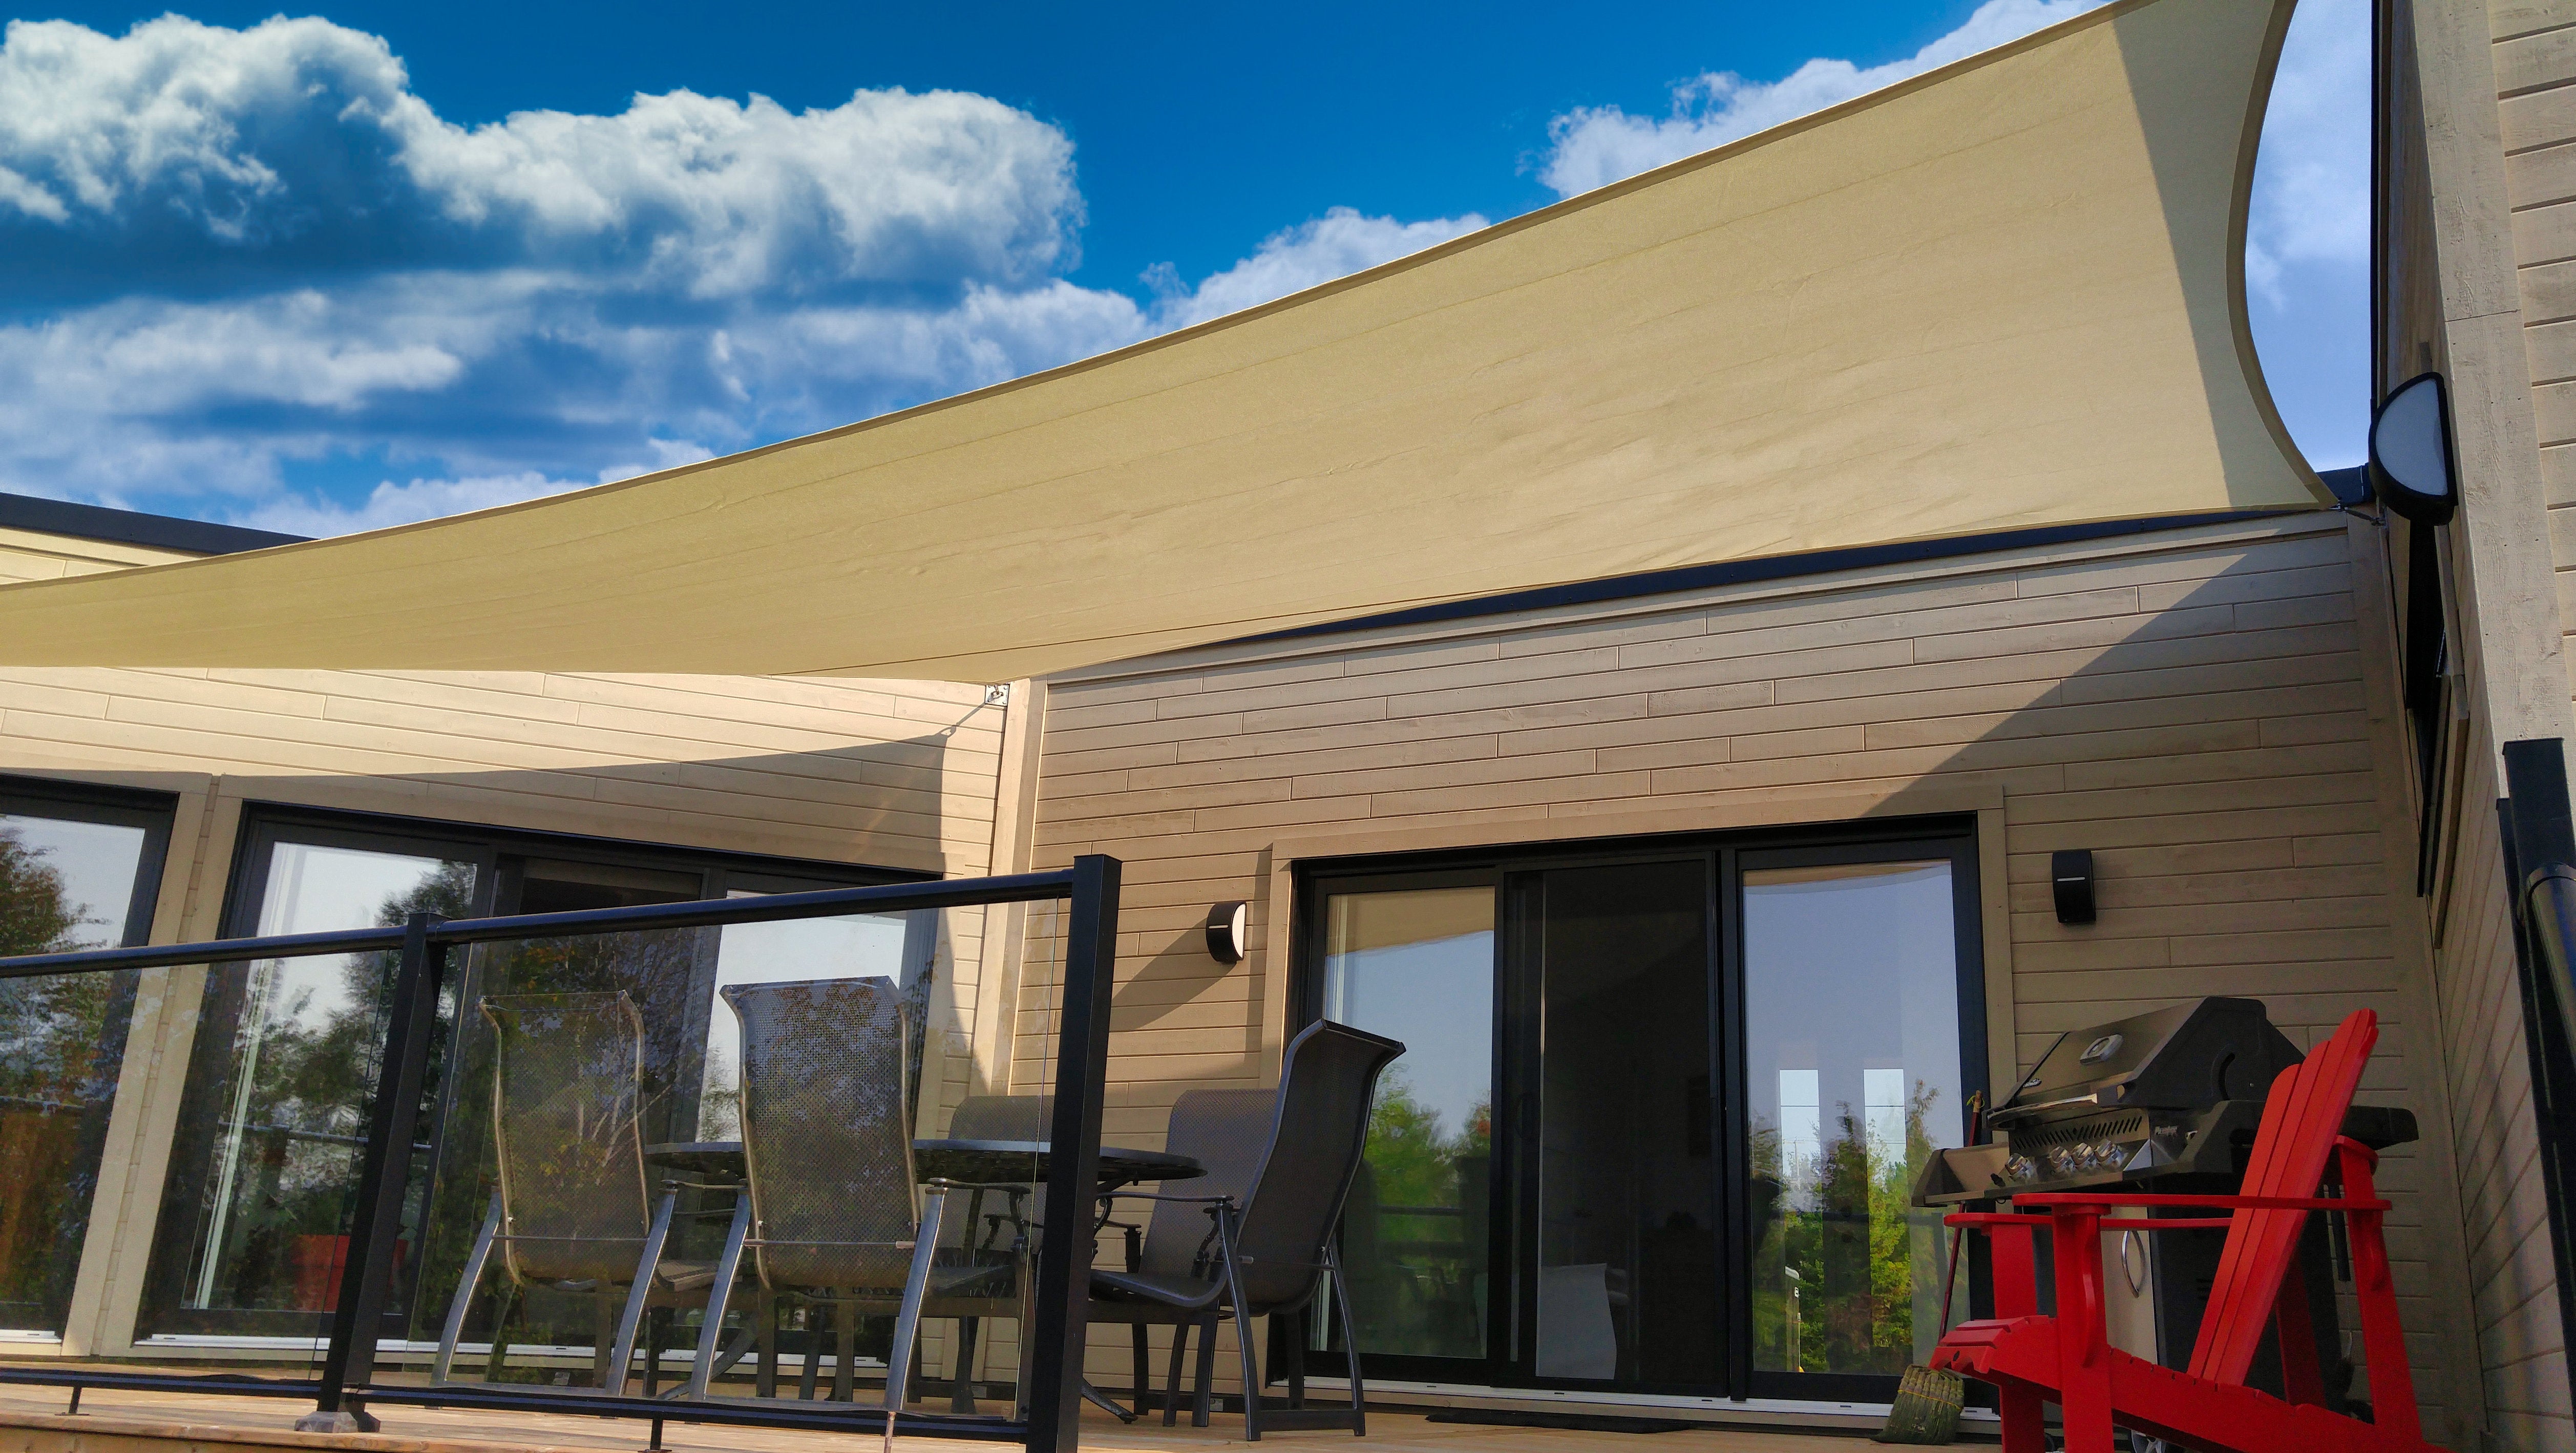
2. Use Turnbuckles for Fine Adjustments: Turnbuckles are your best friend when it comes to tensioning. Attach them to each corner of the sail, and slowly tighten them until the sail is taut. Dont be afraid to crank them up really tight, generally people underestimate how much tension a shade sail can take ( particually ShadeSpace sails ) you are more likely to pull a poorly mounted fixing bracket off the wall or bend an undersized pole or post than to tear a ShadeSpace sail !
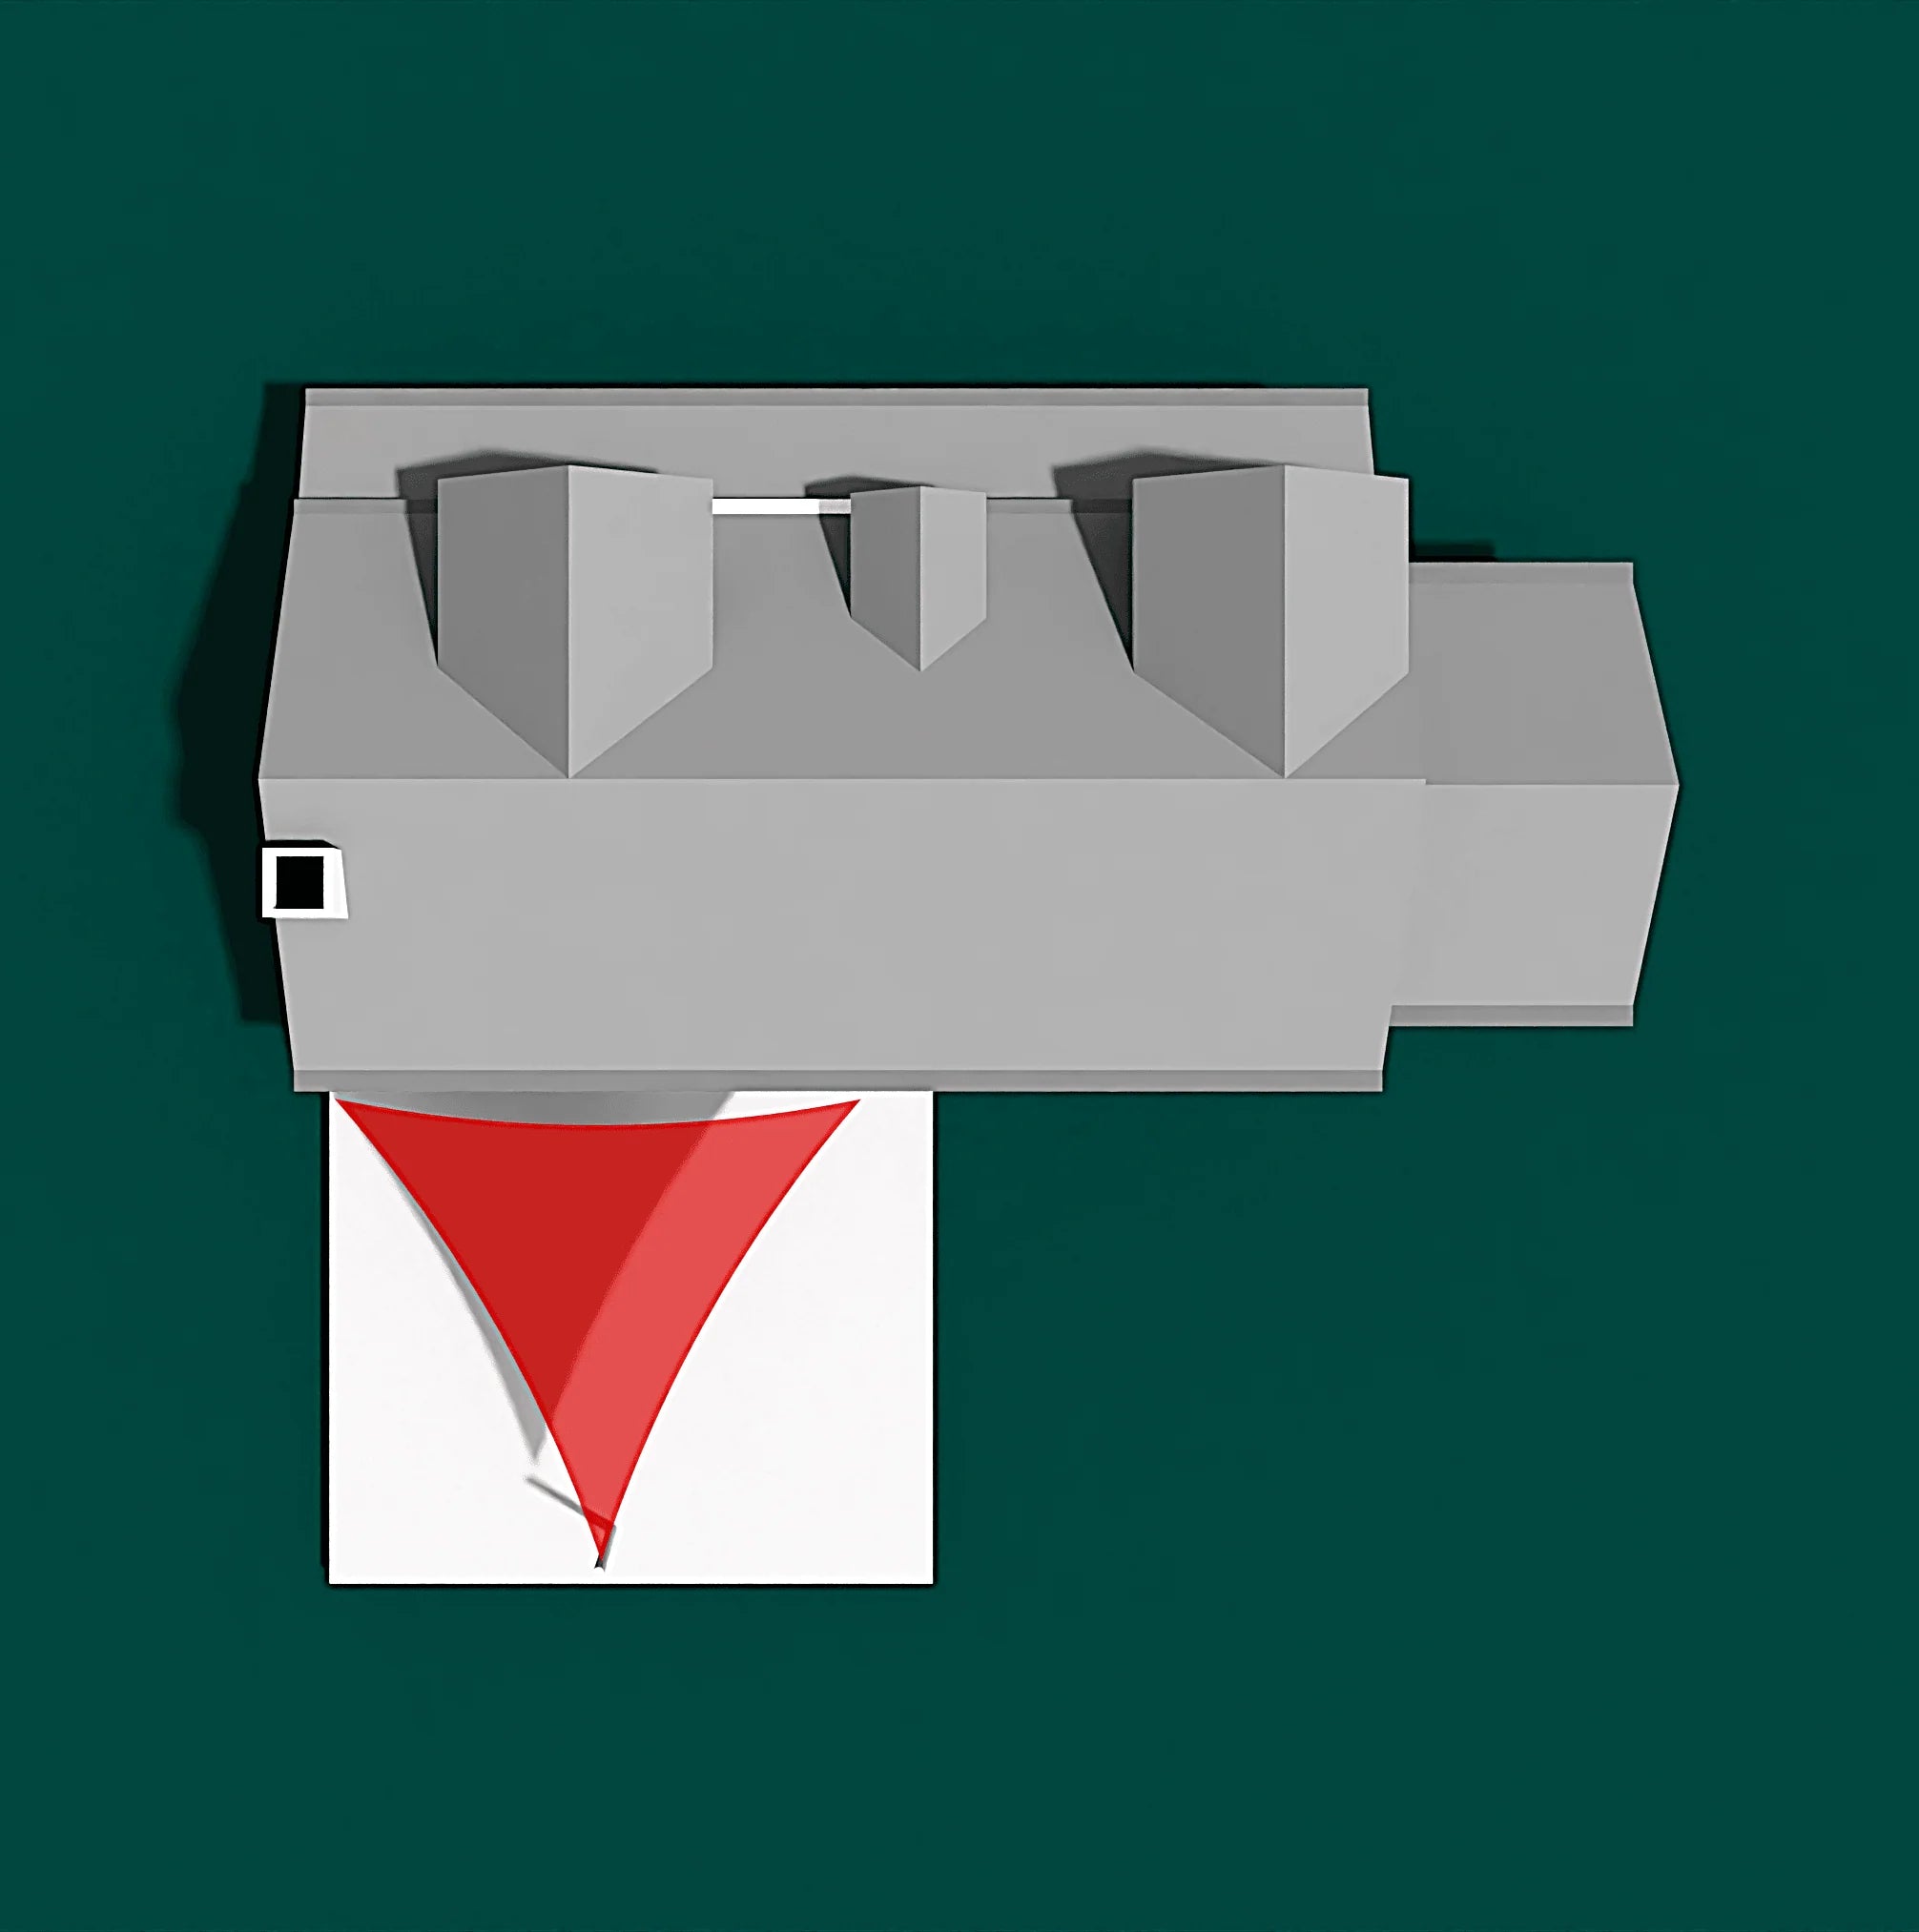
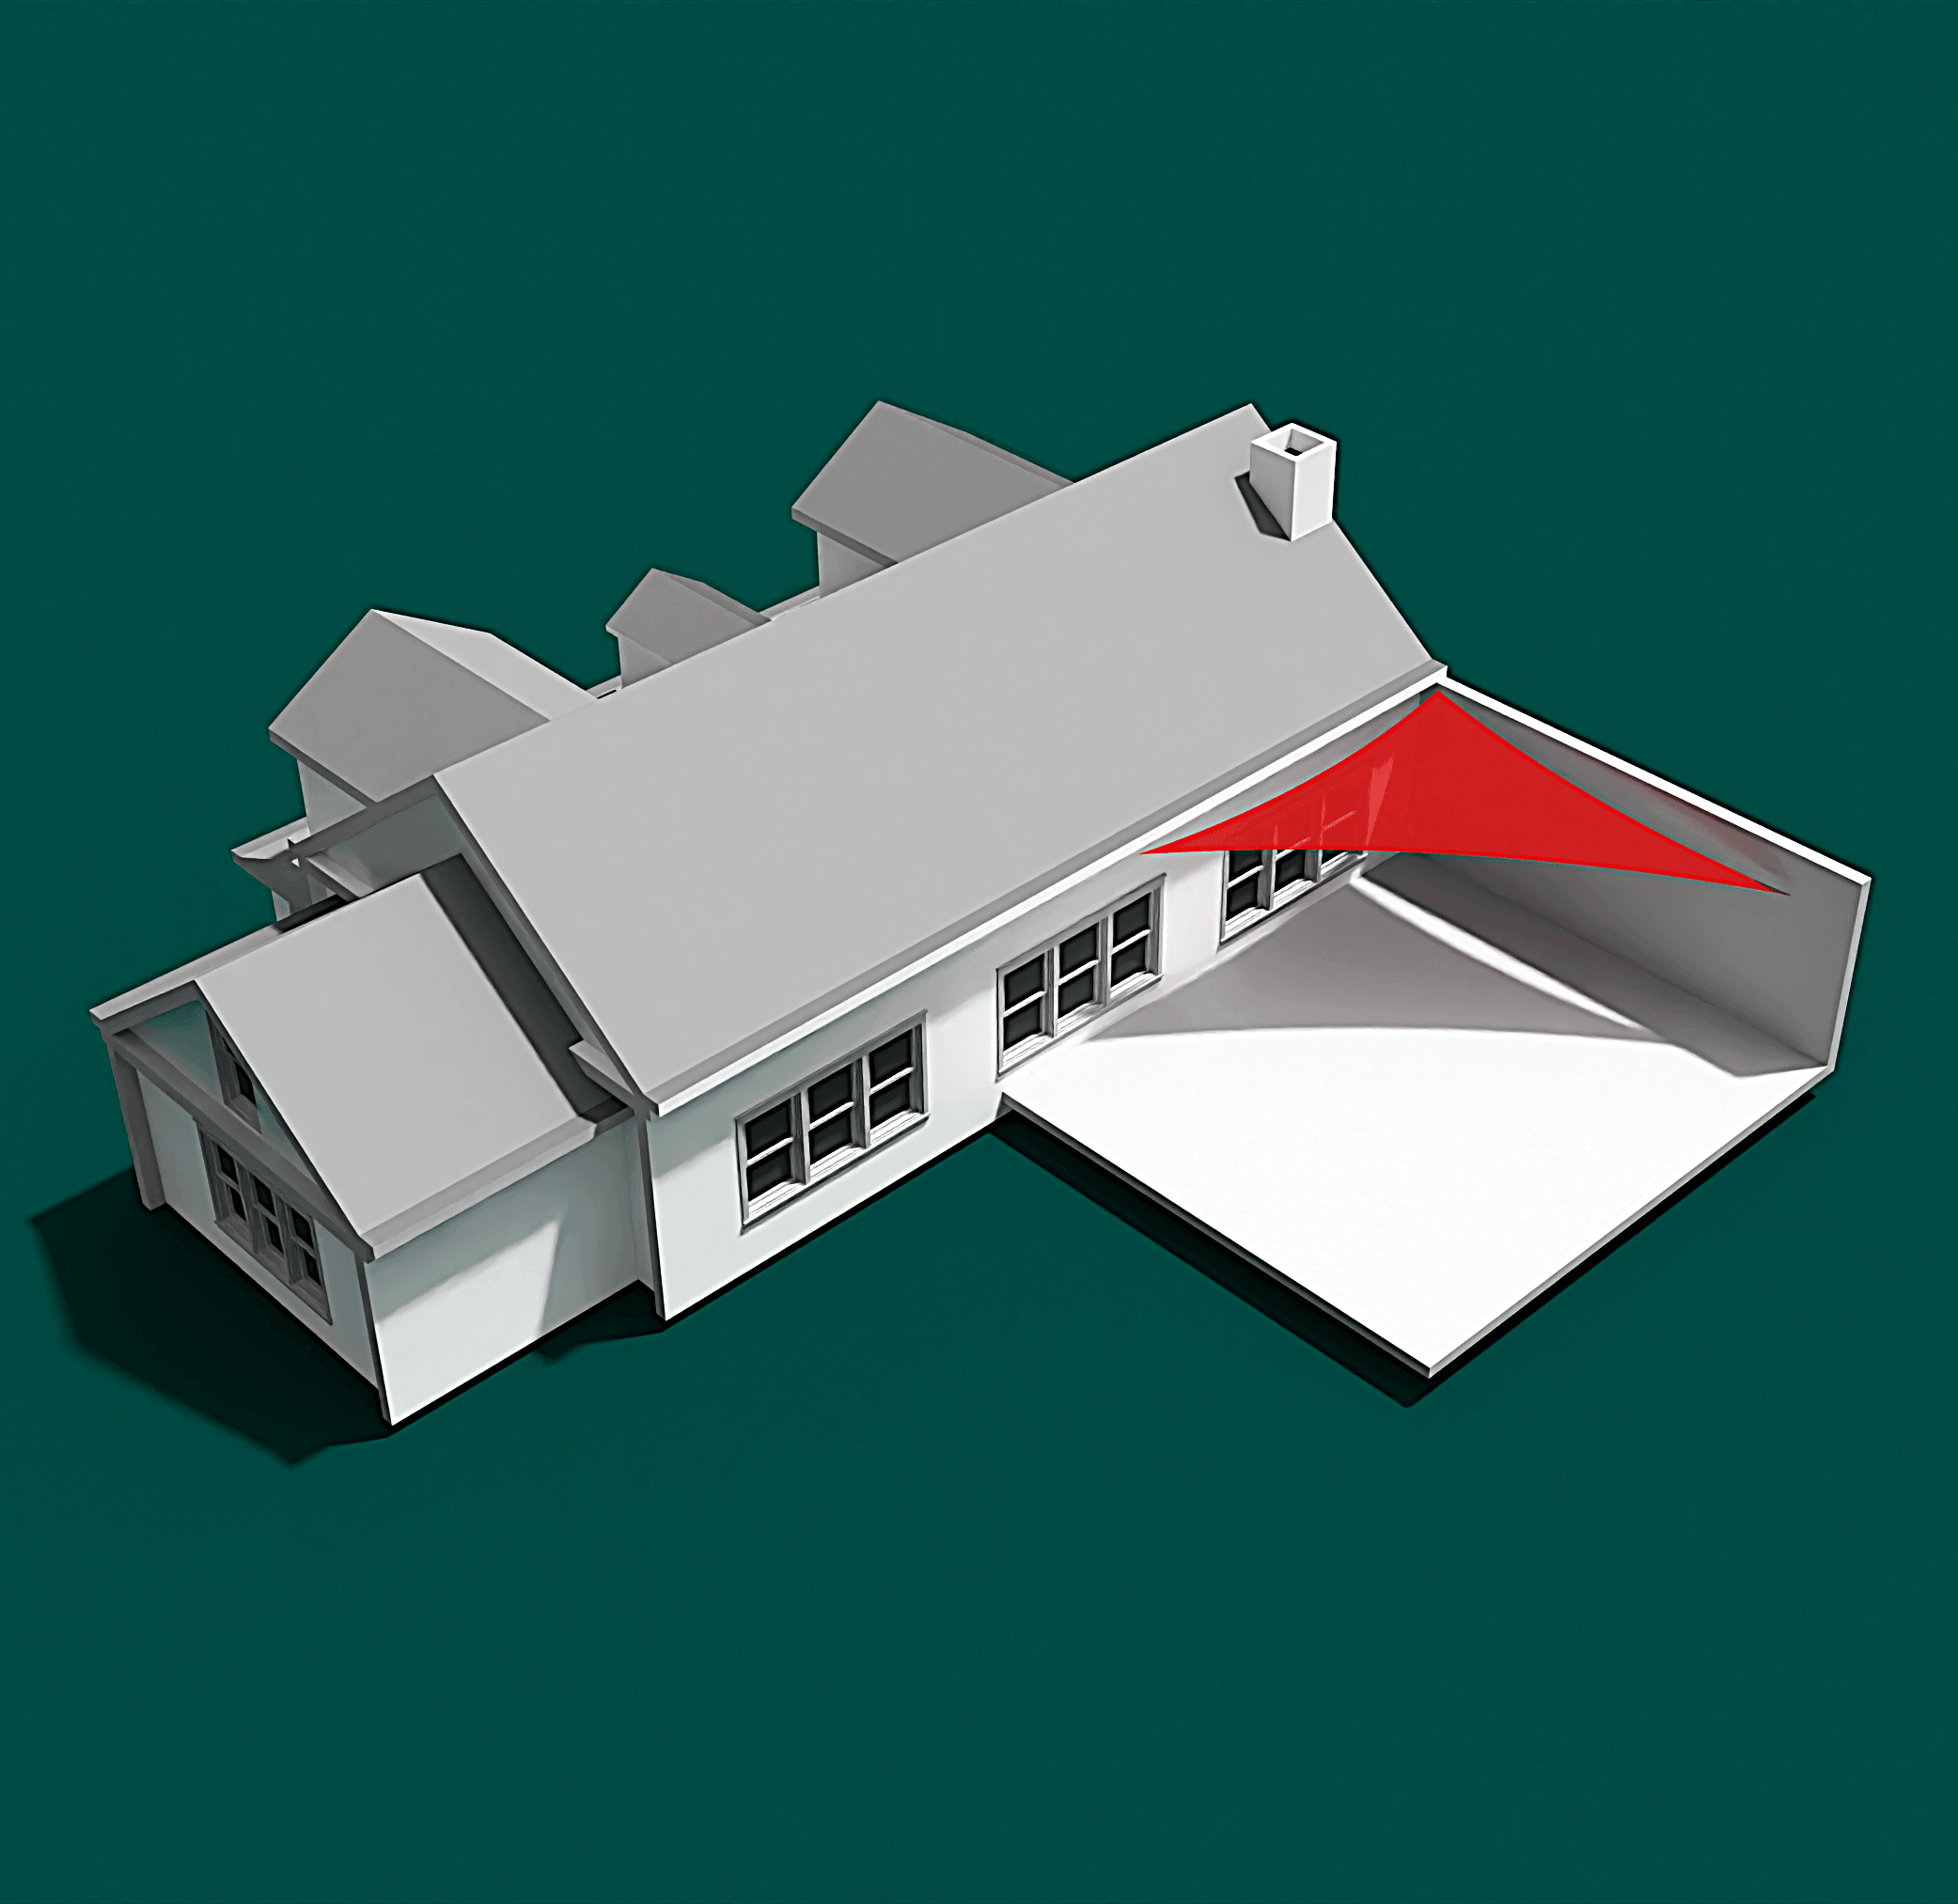
3. Check for Sagging: After tightening, step back and look at the pole sail from different angles. Is it uniformly taut, or do you see any sagging? If sagging is evident, it might be a sign that your mount points need to be adjusted, or your tensioning needs a bit more fine-tuning. Refer to our article on How to Keep Shade Sails from Sagging for expert advice.
4. Re-tighten After a Few Days: It’s normal for the sail to stretch slightly after installation, so revisit your tensioning efforts after a few days. Give those turnbuckles another twist to maintain optimal tension.
Common Mistakes to Avoid
• Over-tensioning: Yes, we want the sail to be tight, but overdoing it can cause the fabric to tear or the mount points to fail. It’s a delicate balance, so take it slowly .
• Neglecting Maintenance: Once your sail is up and looking fabulous, it’s tempting to forget about it. But regular checks and adjustments are key to a long-lasting sail. And let’s face it, we all want to get the most out of our investment, right?
Ready to Take the Next Step?
Now that you know how to tension your shade sail like a pro, why stop there? Whether you’re looking for ready-made or custom options, ShadeSpace has got you covered. Our Custom Shade Sails are designed to fit your space perfectly, offering both style and functionality. Plus, our Video Tutorials make the installation process a breeze, even for DIY novices.
Don’t just take our word for it—explore our range and see how you can transform your outdoor space into a cool, comfortable retreat. After all, it’s not just about avoiding the sun; it’s about doing it with style and ease.
Explore our ready-made and custom shade sail solutions today at ShadeSpace, and say goodbye to those sagging woes for good!


Share:
DIY Square and Rectangle Shade Sail Installation in Australia
The Importance of Varying Heights for Shade Sail Mount Points